 "Forge Crown Victor!" (metallicaman0258)
01/02/2017 at 03:57 ē Filed to: None
 5
5
 5
5
 "Forge Crown Victor!" (metallicaman0258)
01/02/2017 at 03:57 ē Filed to: None |  5 5
|  5 5 |
!!!error: Indecipherable SUB-paragraph formatting!!!
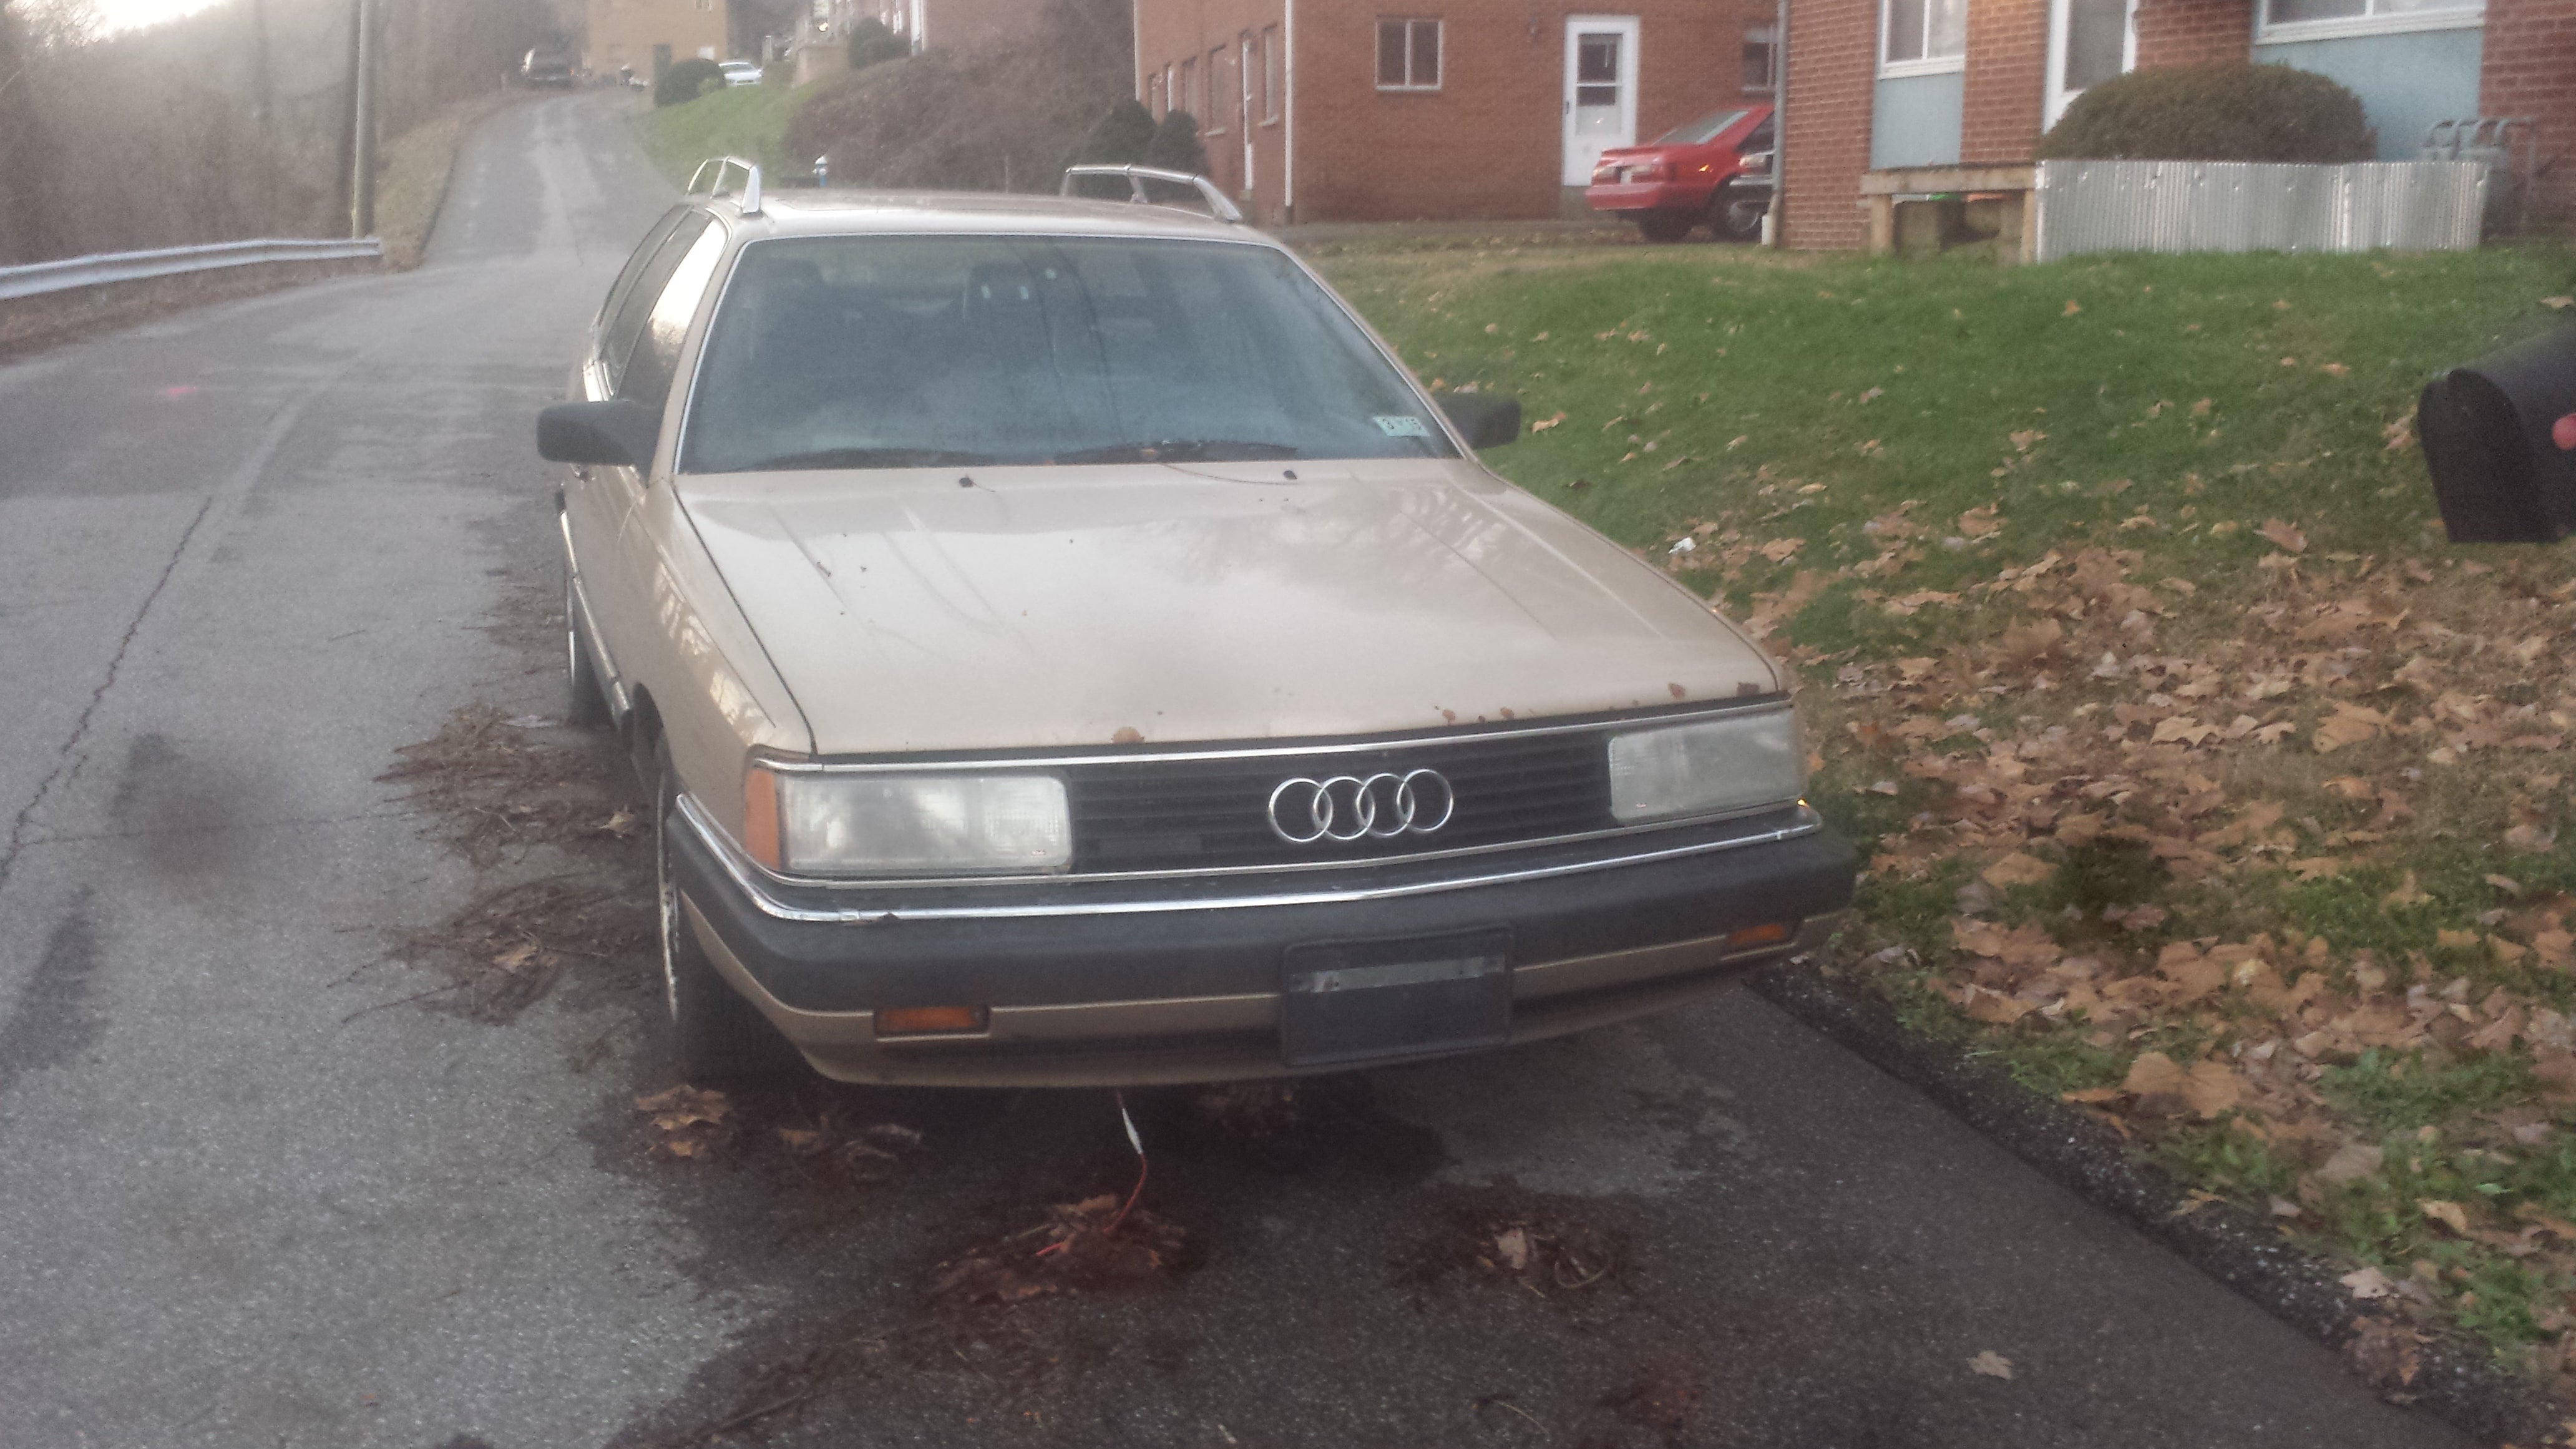
Here she sits. mostly assembled and in front of my house instead of in someone elseís garage
Months have passed...
Work has been on and off...
Computers, broken...
Cell phones full of pictures, destroyed...
Now the final installment of the Audi saga!!
WARNING STUPID LONG ARTICLE
Last time you were with me I had finally finished assembly on the cylinder head. With some help from my friends, I got the head into place and bolted er dahn.
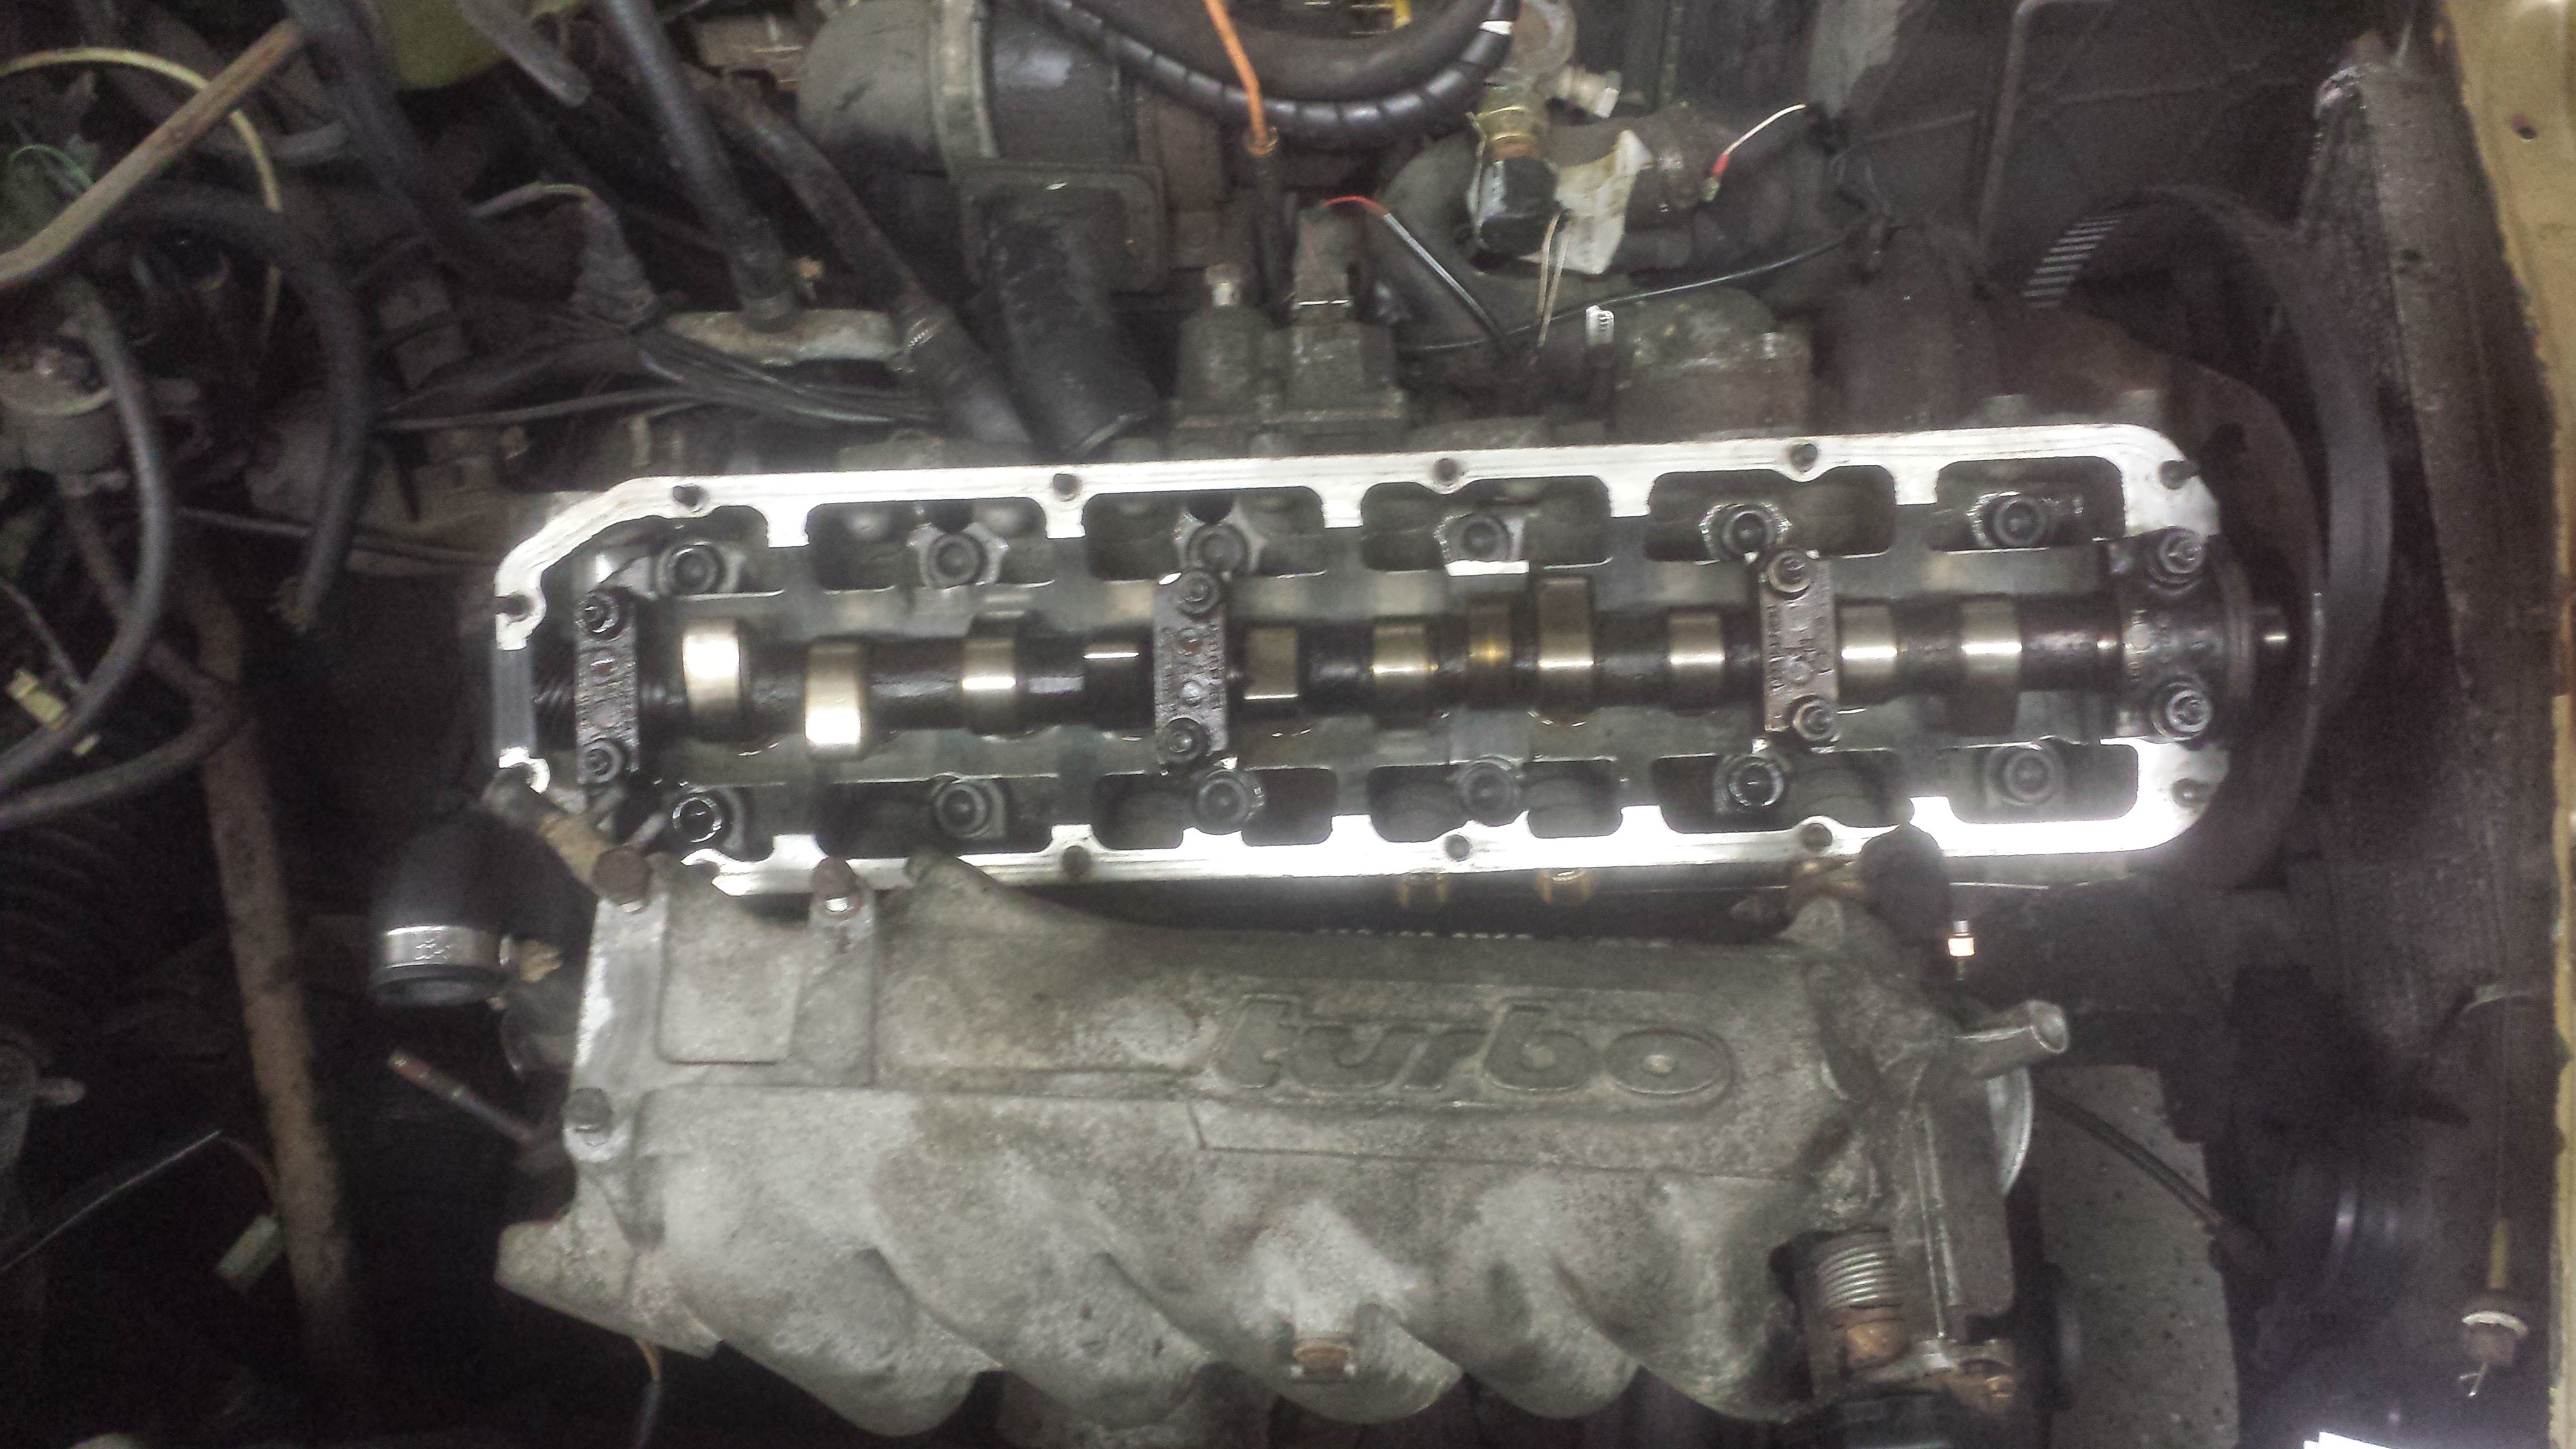
So nice to see an old girl with her head on eh?
The next step was to rebuild what I could of the mechanical injectors before install. To do this is an involved and much under-documented process of which I shall outline to the best of my rememberings as I did this in October sometime.
I started out by soaking the injectors in a bath of the finest solvent and fuel system enhancer money can buy from the great Zone of Auto, Seafoam.
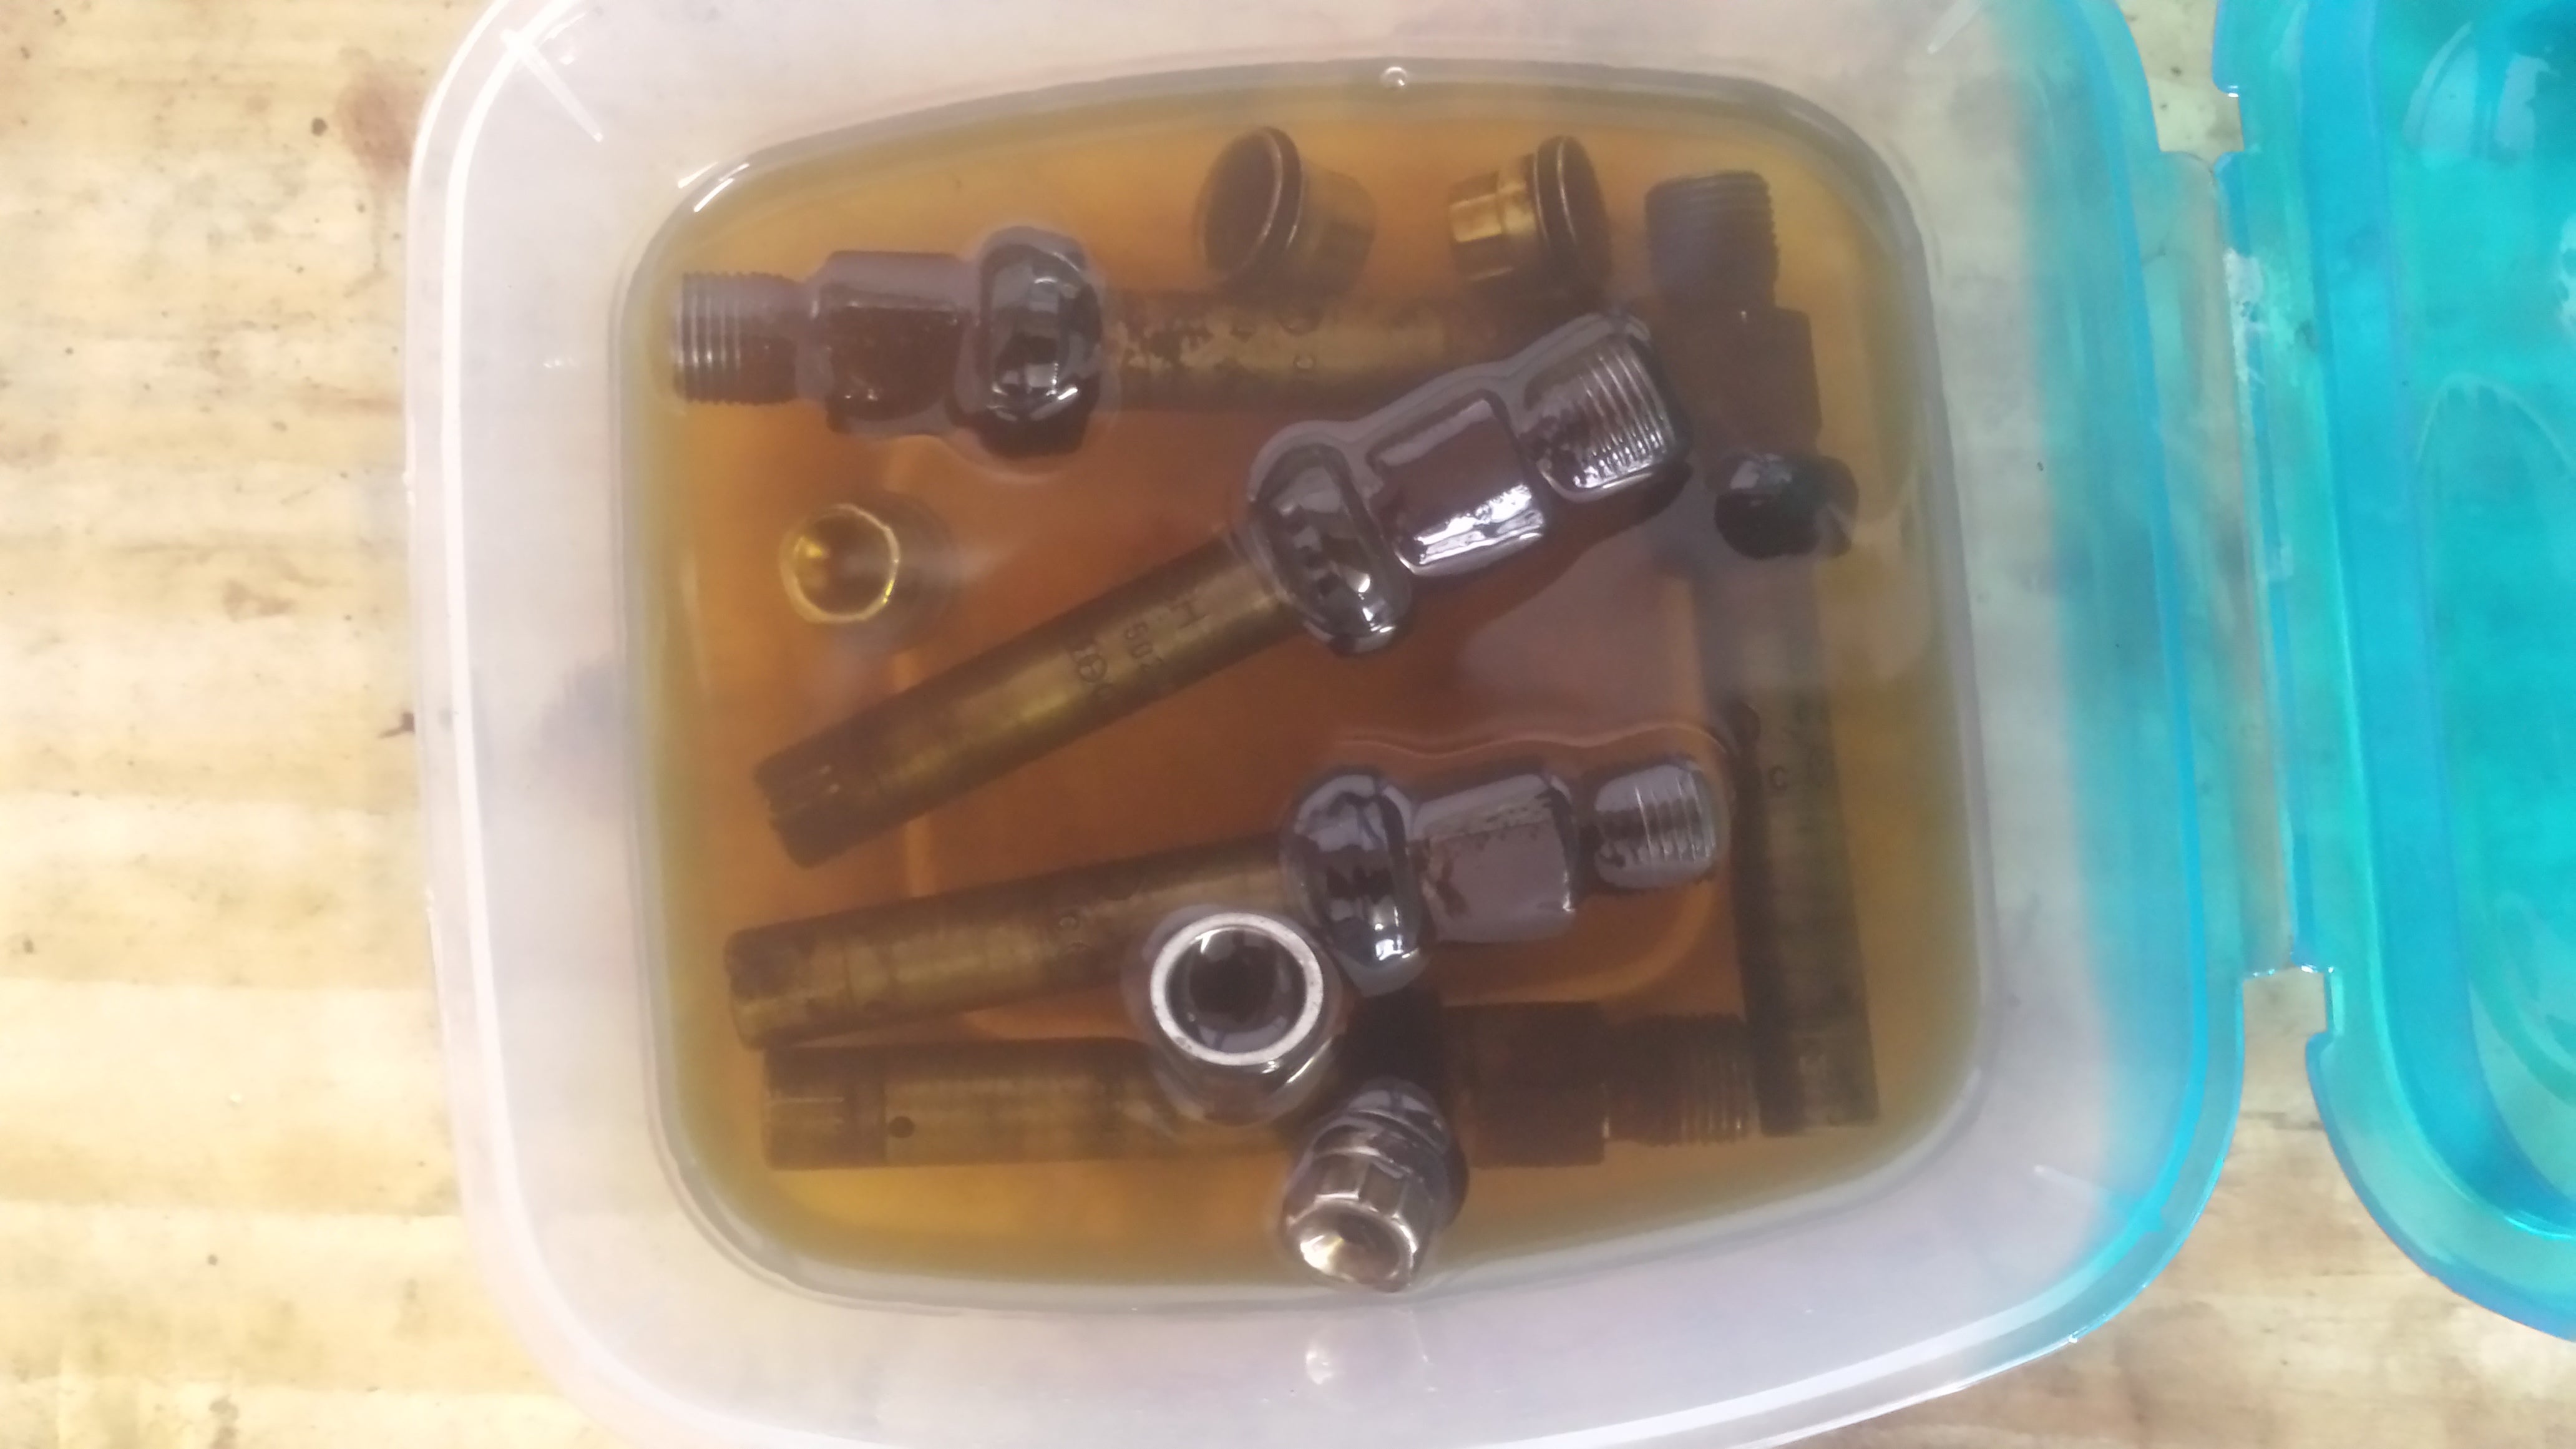
Here in the rehabilitation center, we have a quintet of mechanical fuel injectors for a German automobile
Pictured are the 5 injectors for the car submerged in the seafoam after sitting for about 3 weeks. I had previously removed the caps or hats from the ends of the injectors to ensure a more thorough steeping in the solvent. After removing the injectors from their baths, I was left with a reminder of how efficient fuel filters really are.
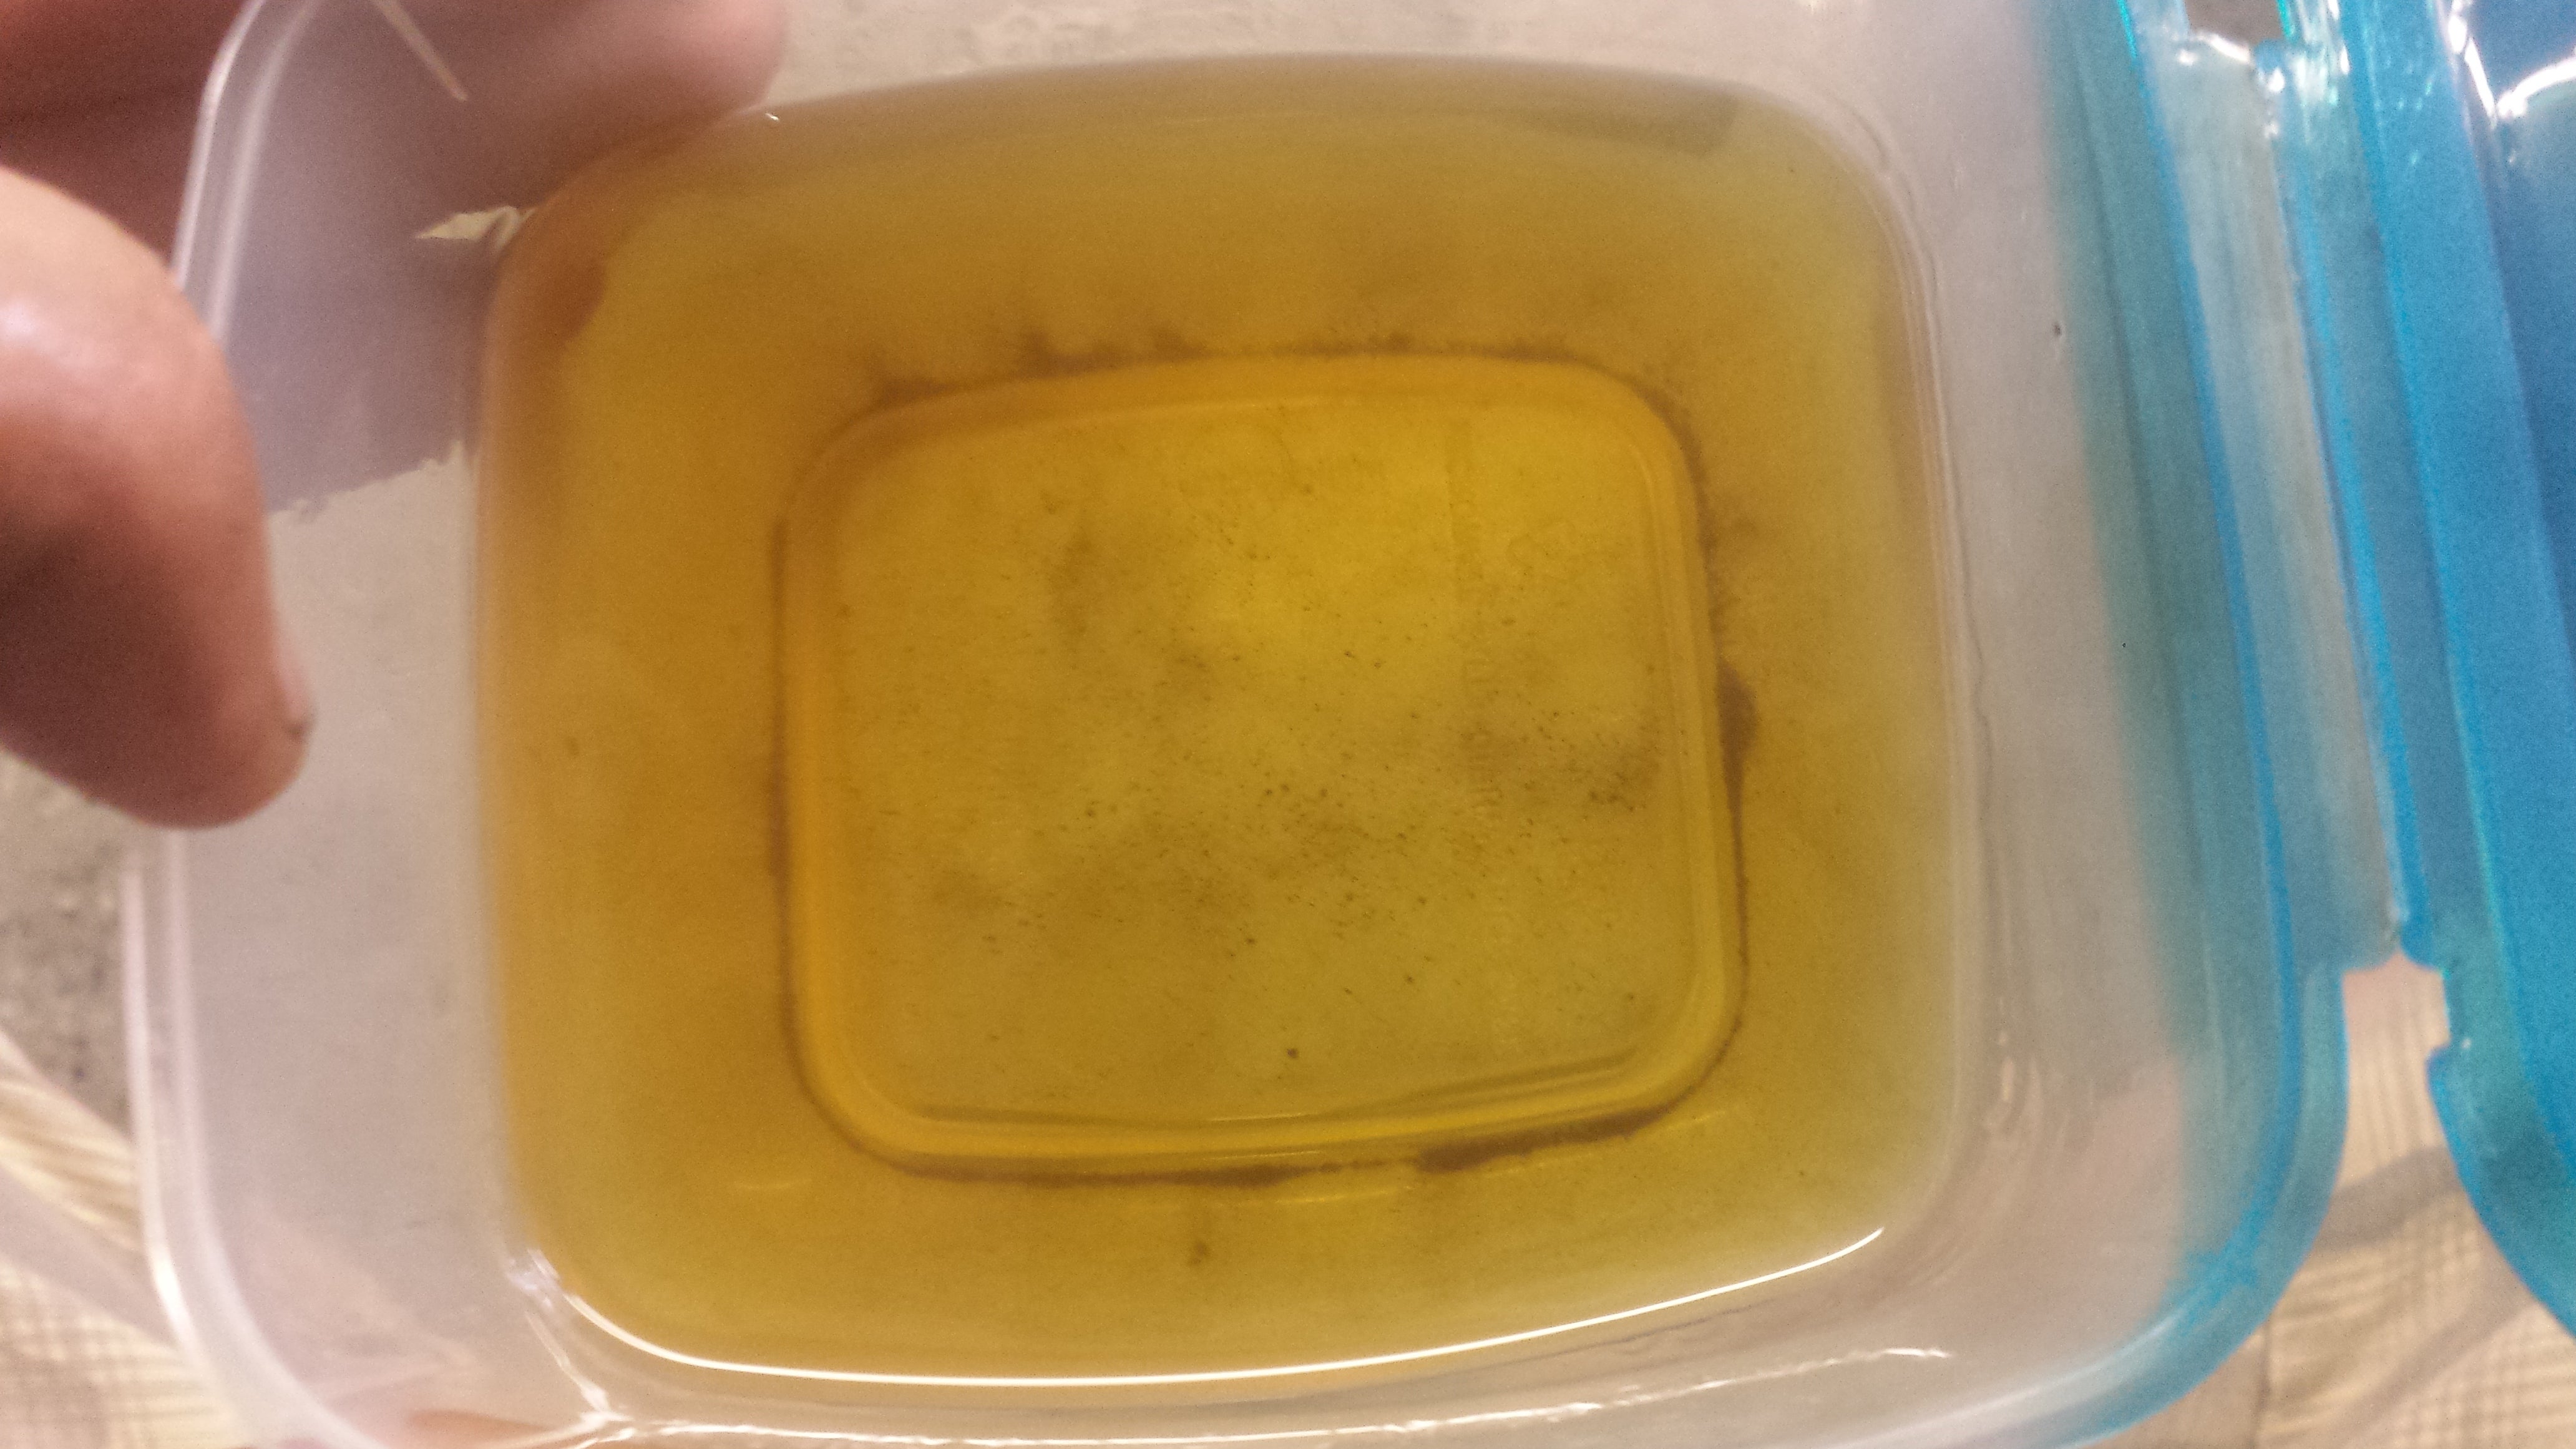
Rust, grit and downright filth that came from the injectors. 30 long years of grime.
This is why it is so important to clean your fuel system at least every now and again. I began the reassembly and resealing process. First new o-rings for the caps and the injectors themselves. the seal on the cap is the first line of defense against vacuum leakage whilst the outer seal is a total seal from the outside dirt from getting into the intake runners.
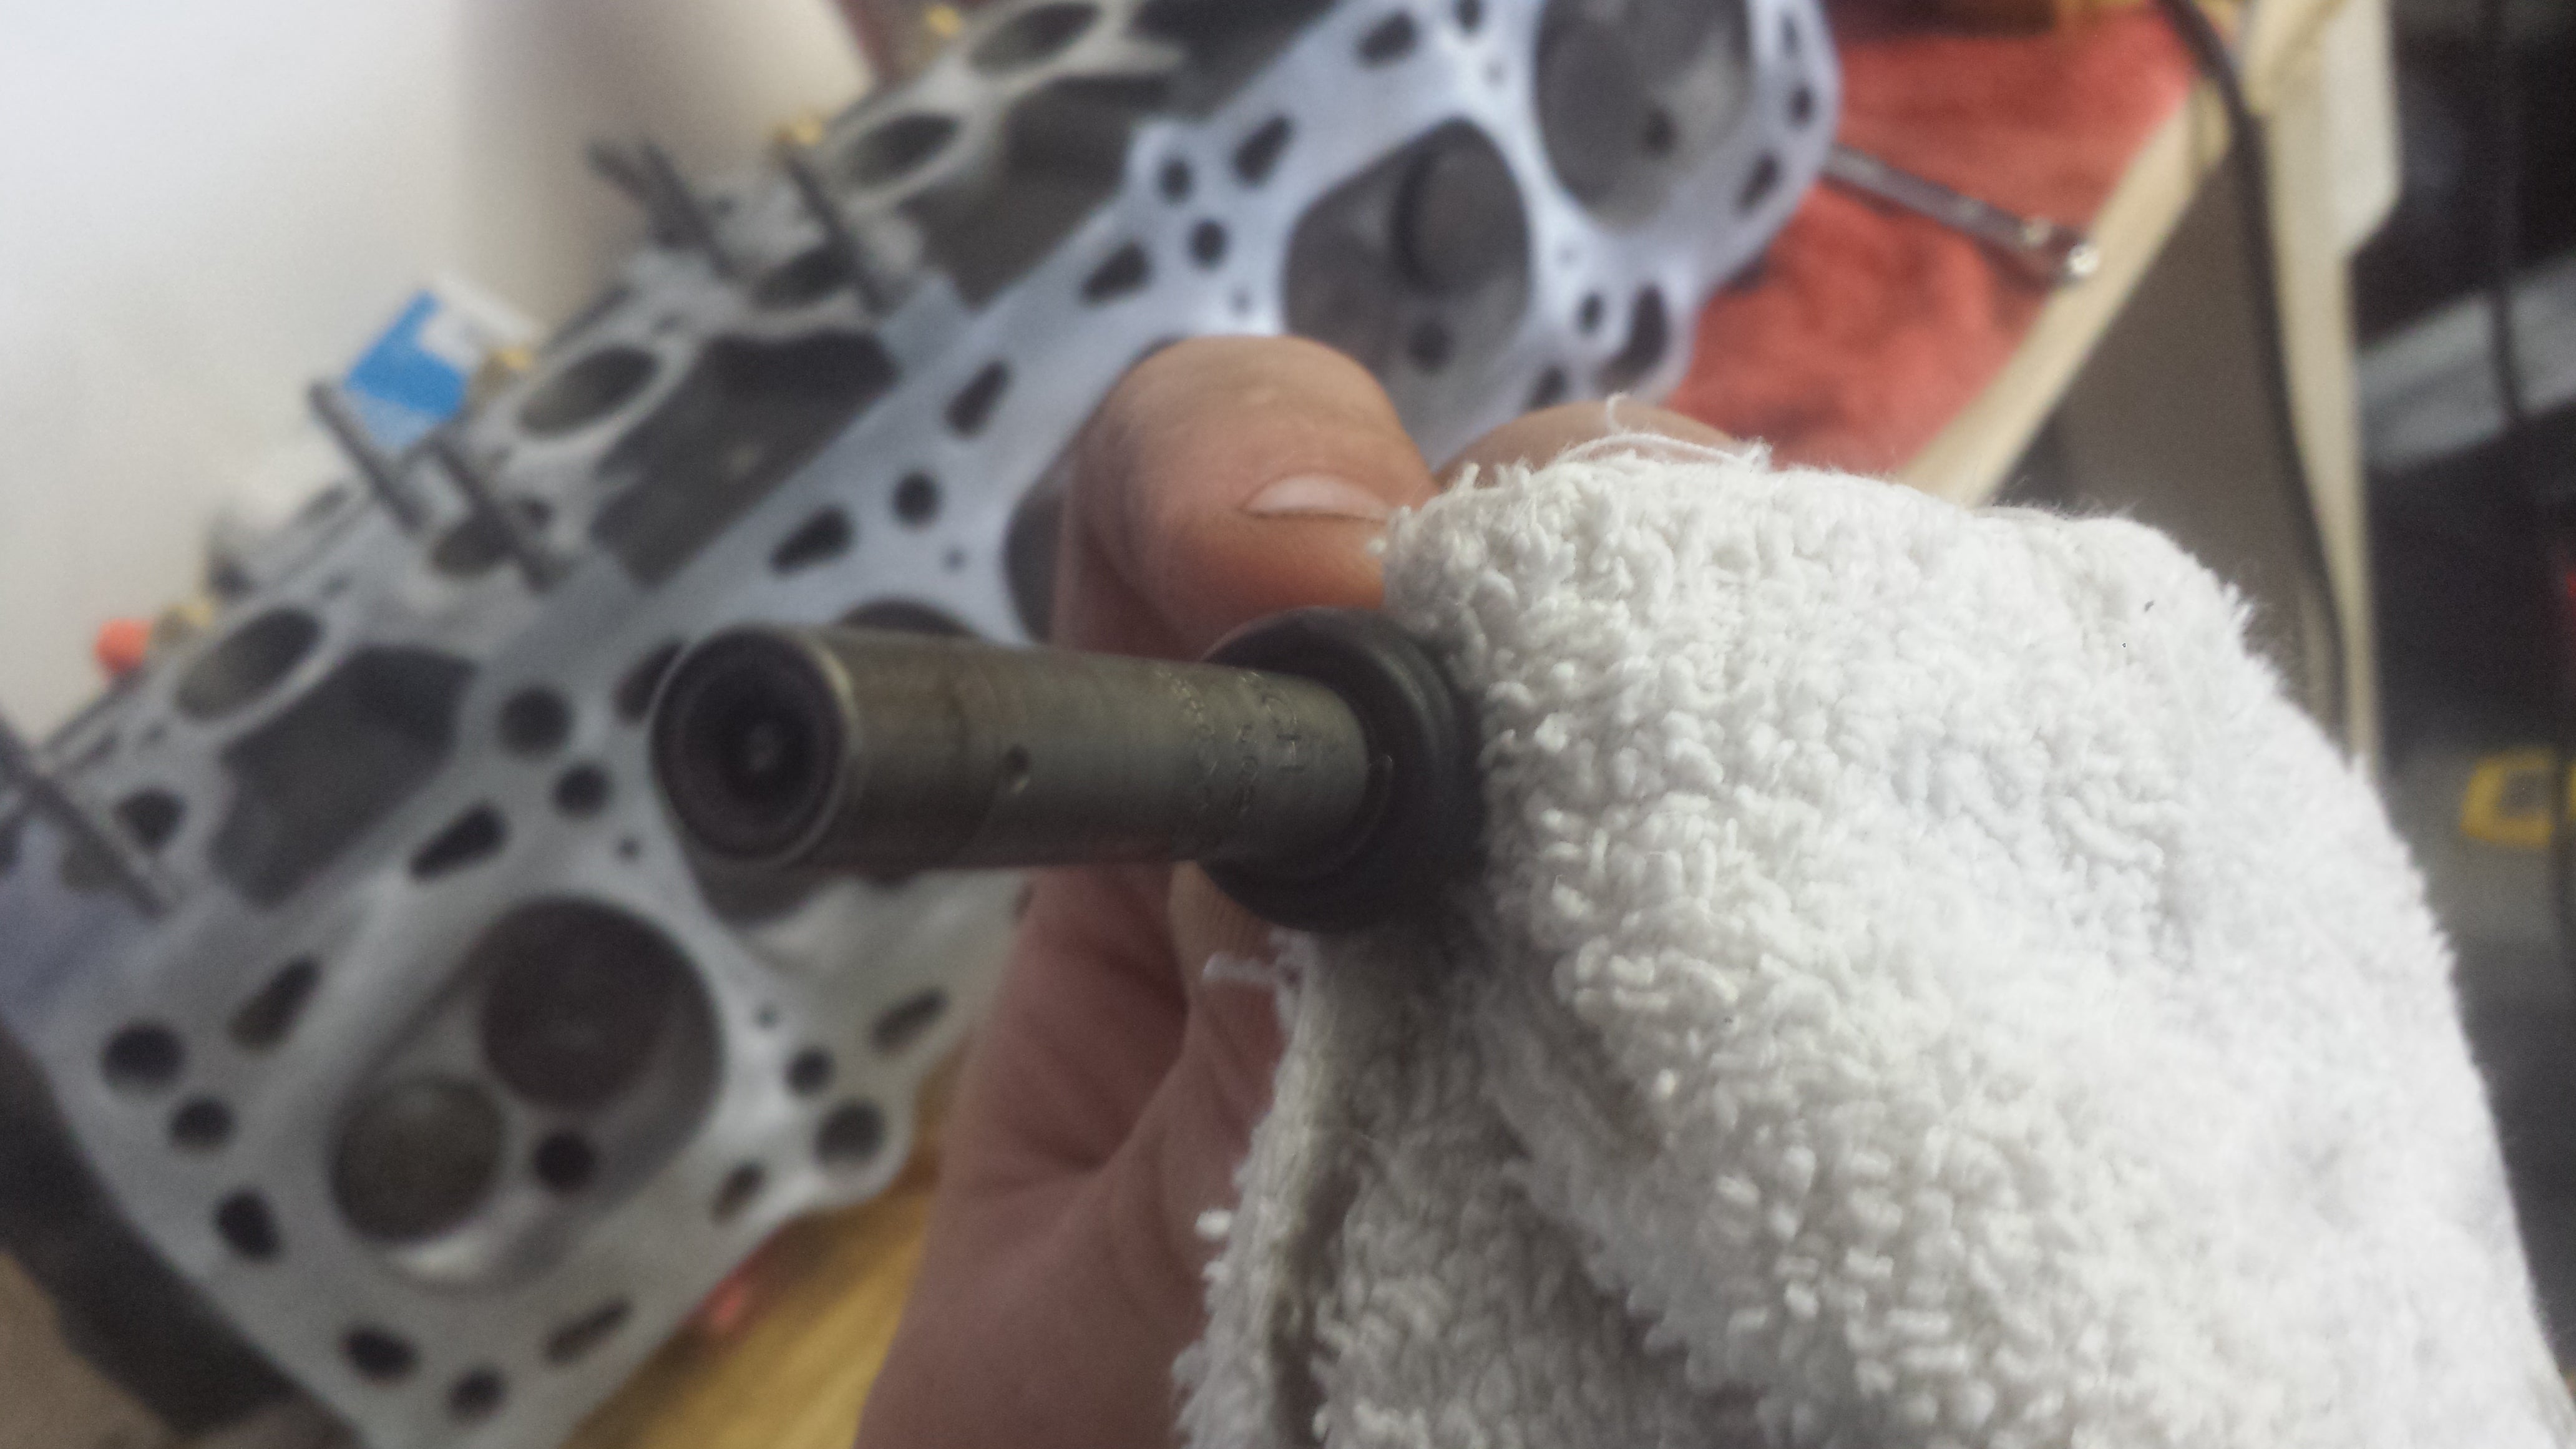
Fresh from the solvent, before the wipedown.
This is a closeup of the fuel injector sans cap to give a little insight on how it functions.
For those who are new to the wonderful world of K-Jetronic Fuel Injection hereís a crash course. The fuel pump stays on constantly supplying a continuous pressure into the fuel metering assembly. When the throttle opens up, the vacuum present in the manifold lowers the pressure of the intake tract and lifts up a plate attached to an arm on the metering device. this arm is attached to, basically, a needle valve that allows pressure to increase into the fuel lines allowing the injectors to inject fuel into the engine. The injectors act as pressure check valves so when the pressure reaches a certain point, it overcomes the spring inside and moves the pintle outwards to release the fuel. The injector pulses several times a second as the pressure oscillates between high and low causing them to ďsingĒ allowing one to hear them working. The caps that go on the business end of the injectors actually create the desired spray pattern.
Before I installed and resealed the caps, I had to remove the old main seals and replace those. Simple task, pop the clip off and shove the seal off.
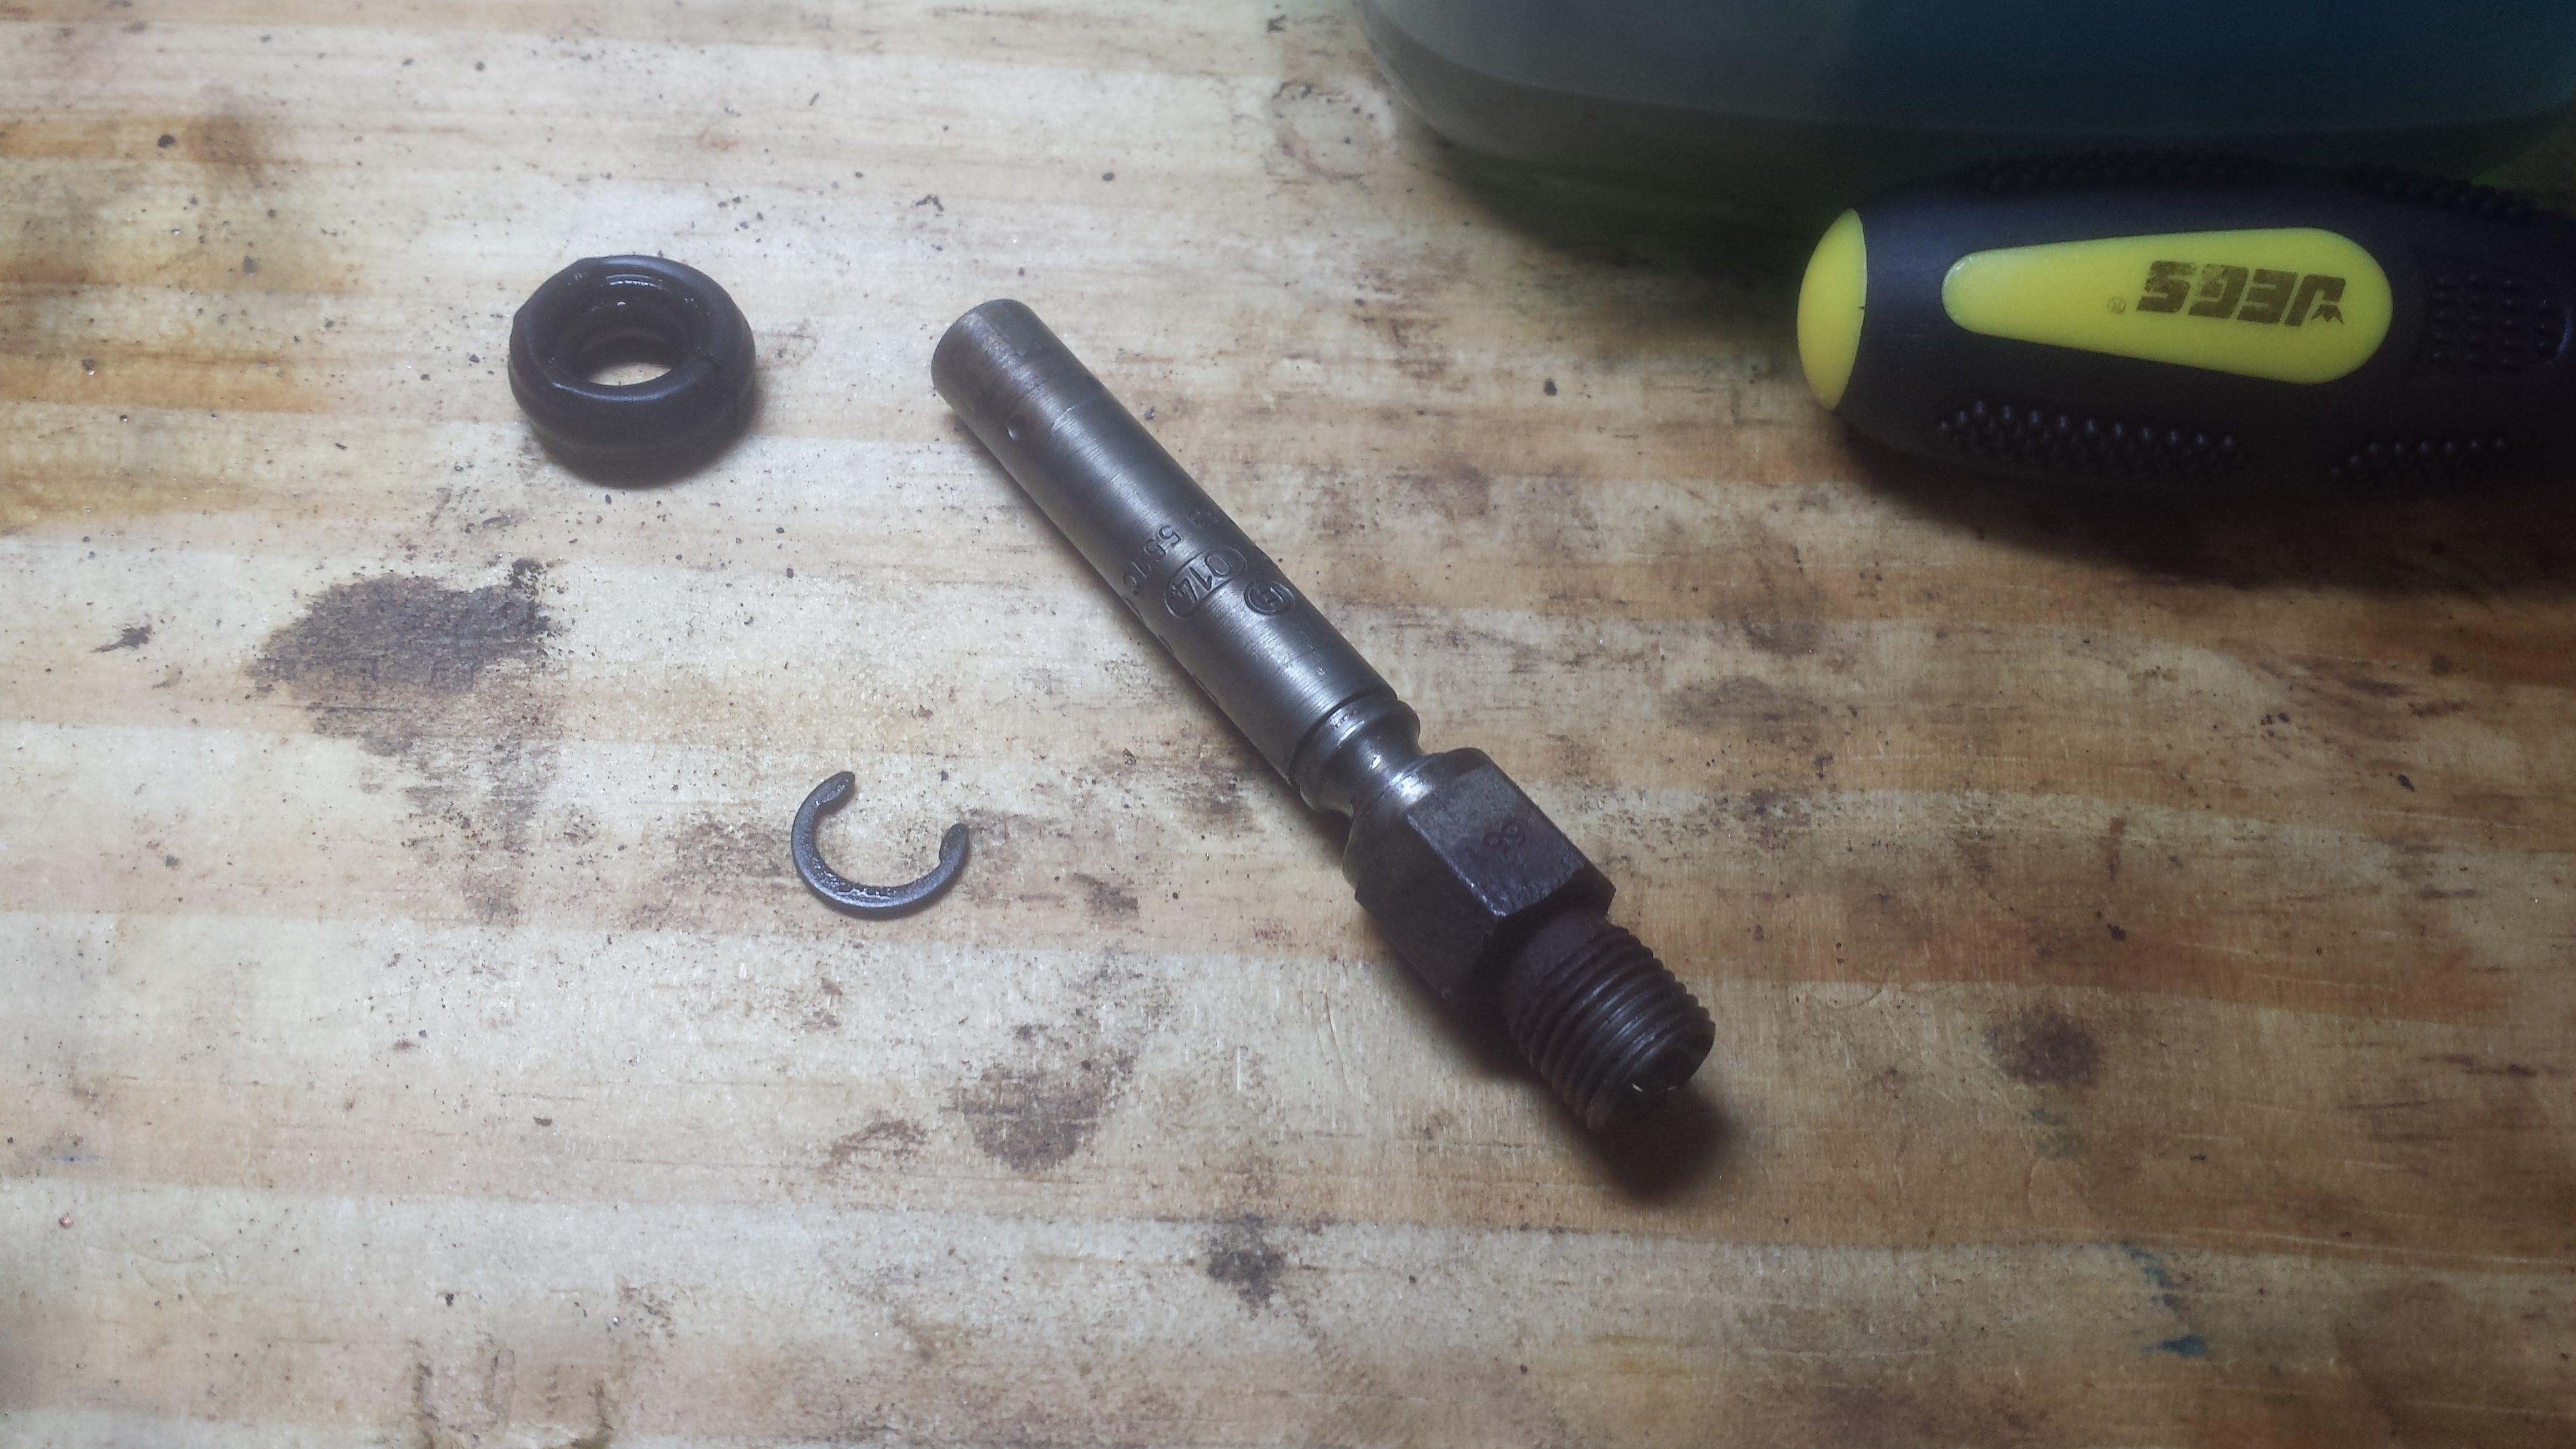
Bare naked injector
Then the cap is next.
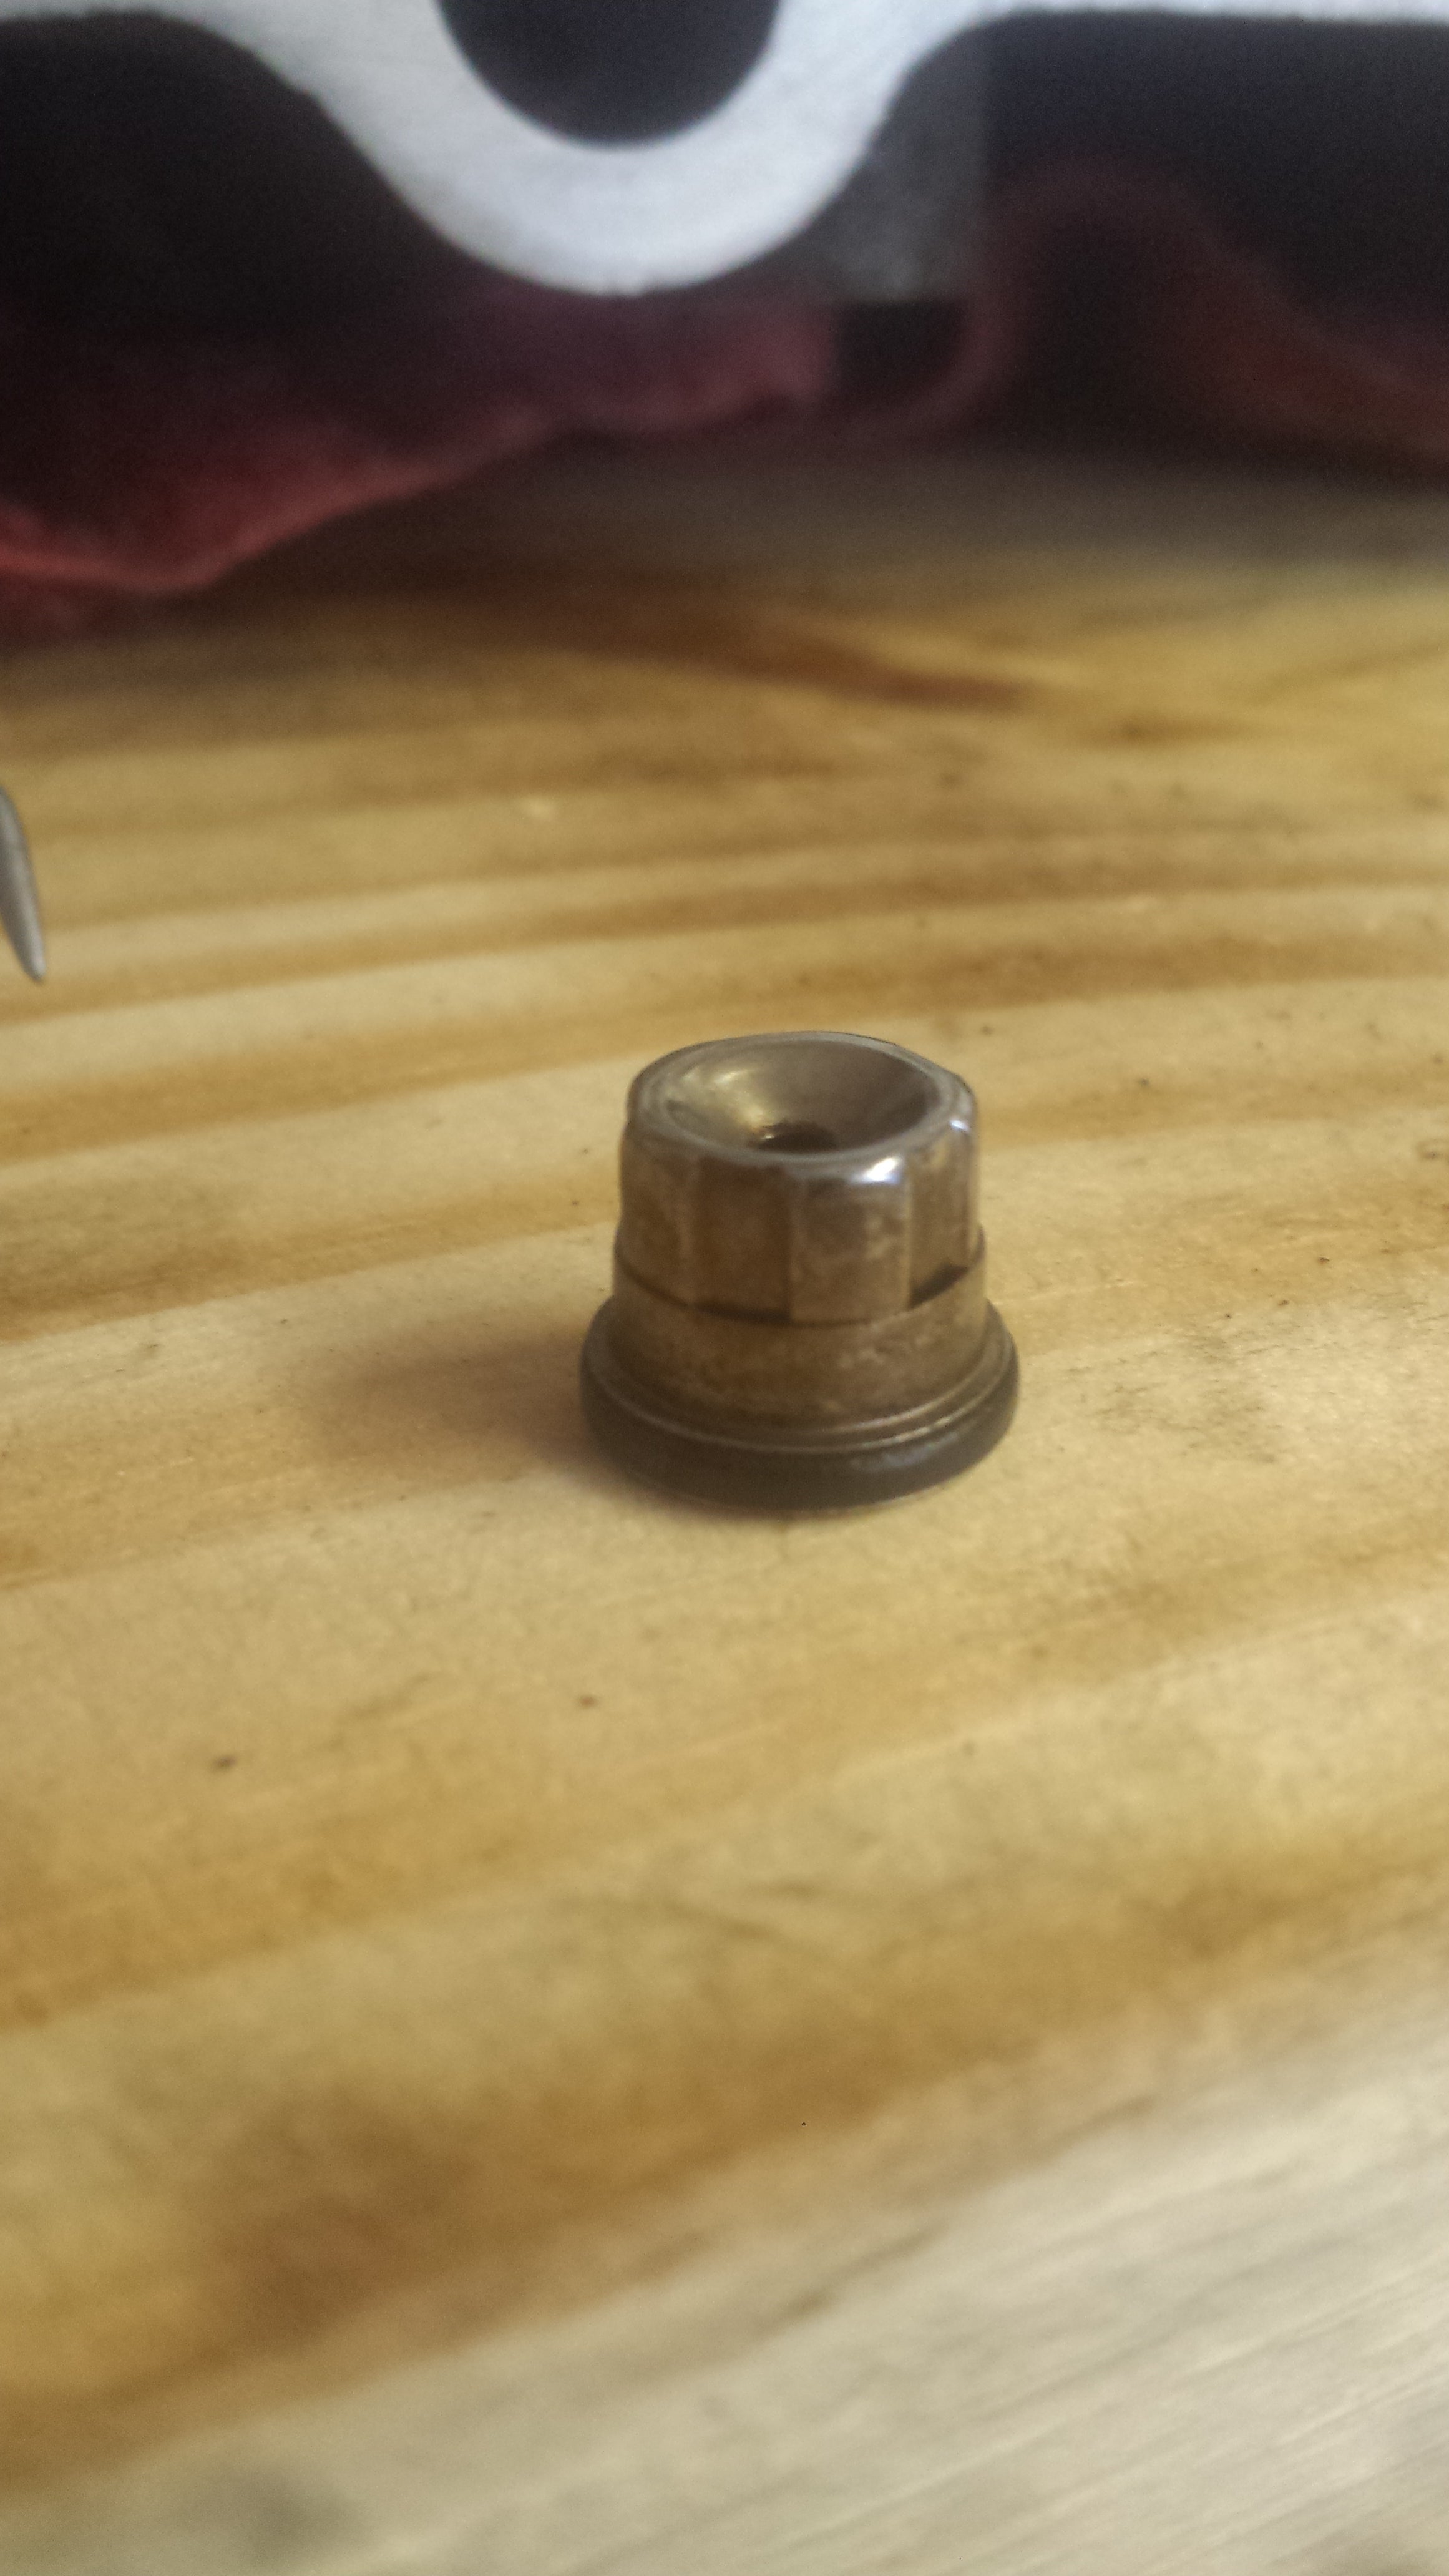
Hats off for this job.
I used a dental pick to remove the old seal.
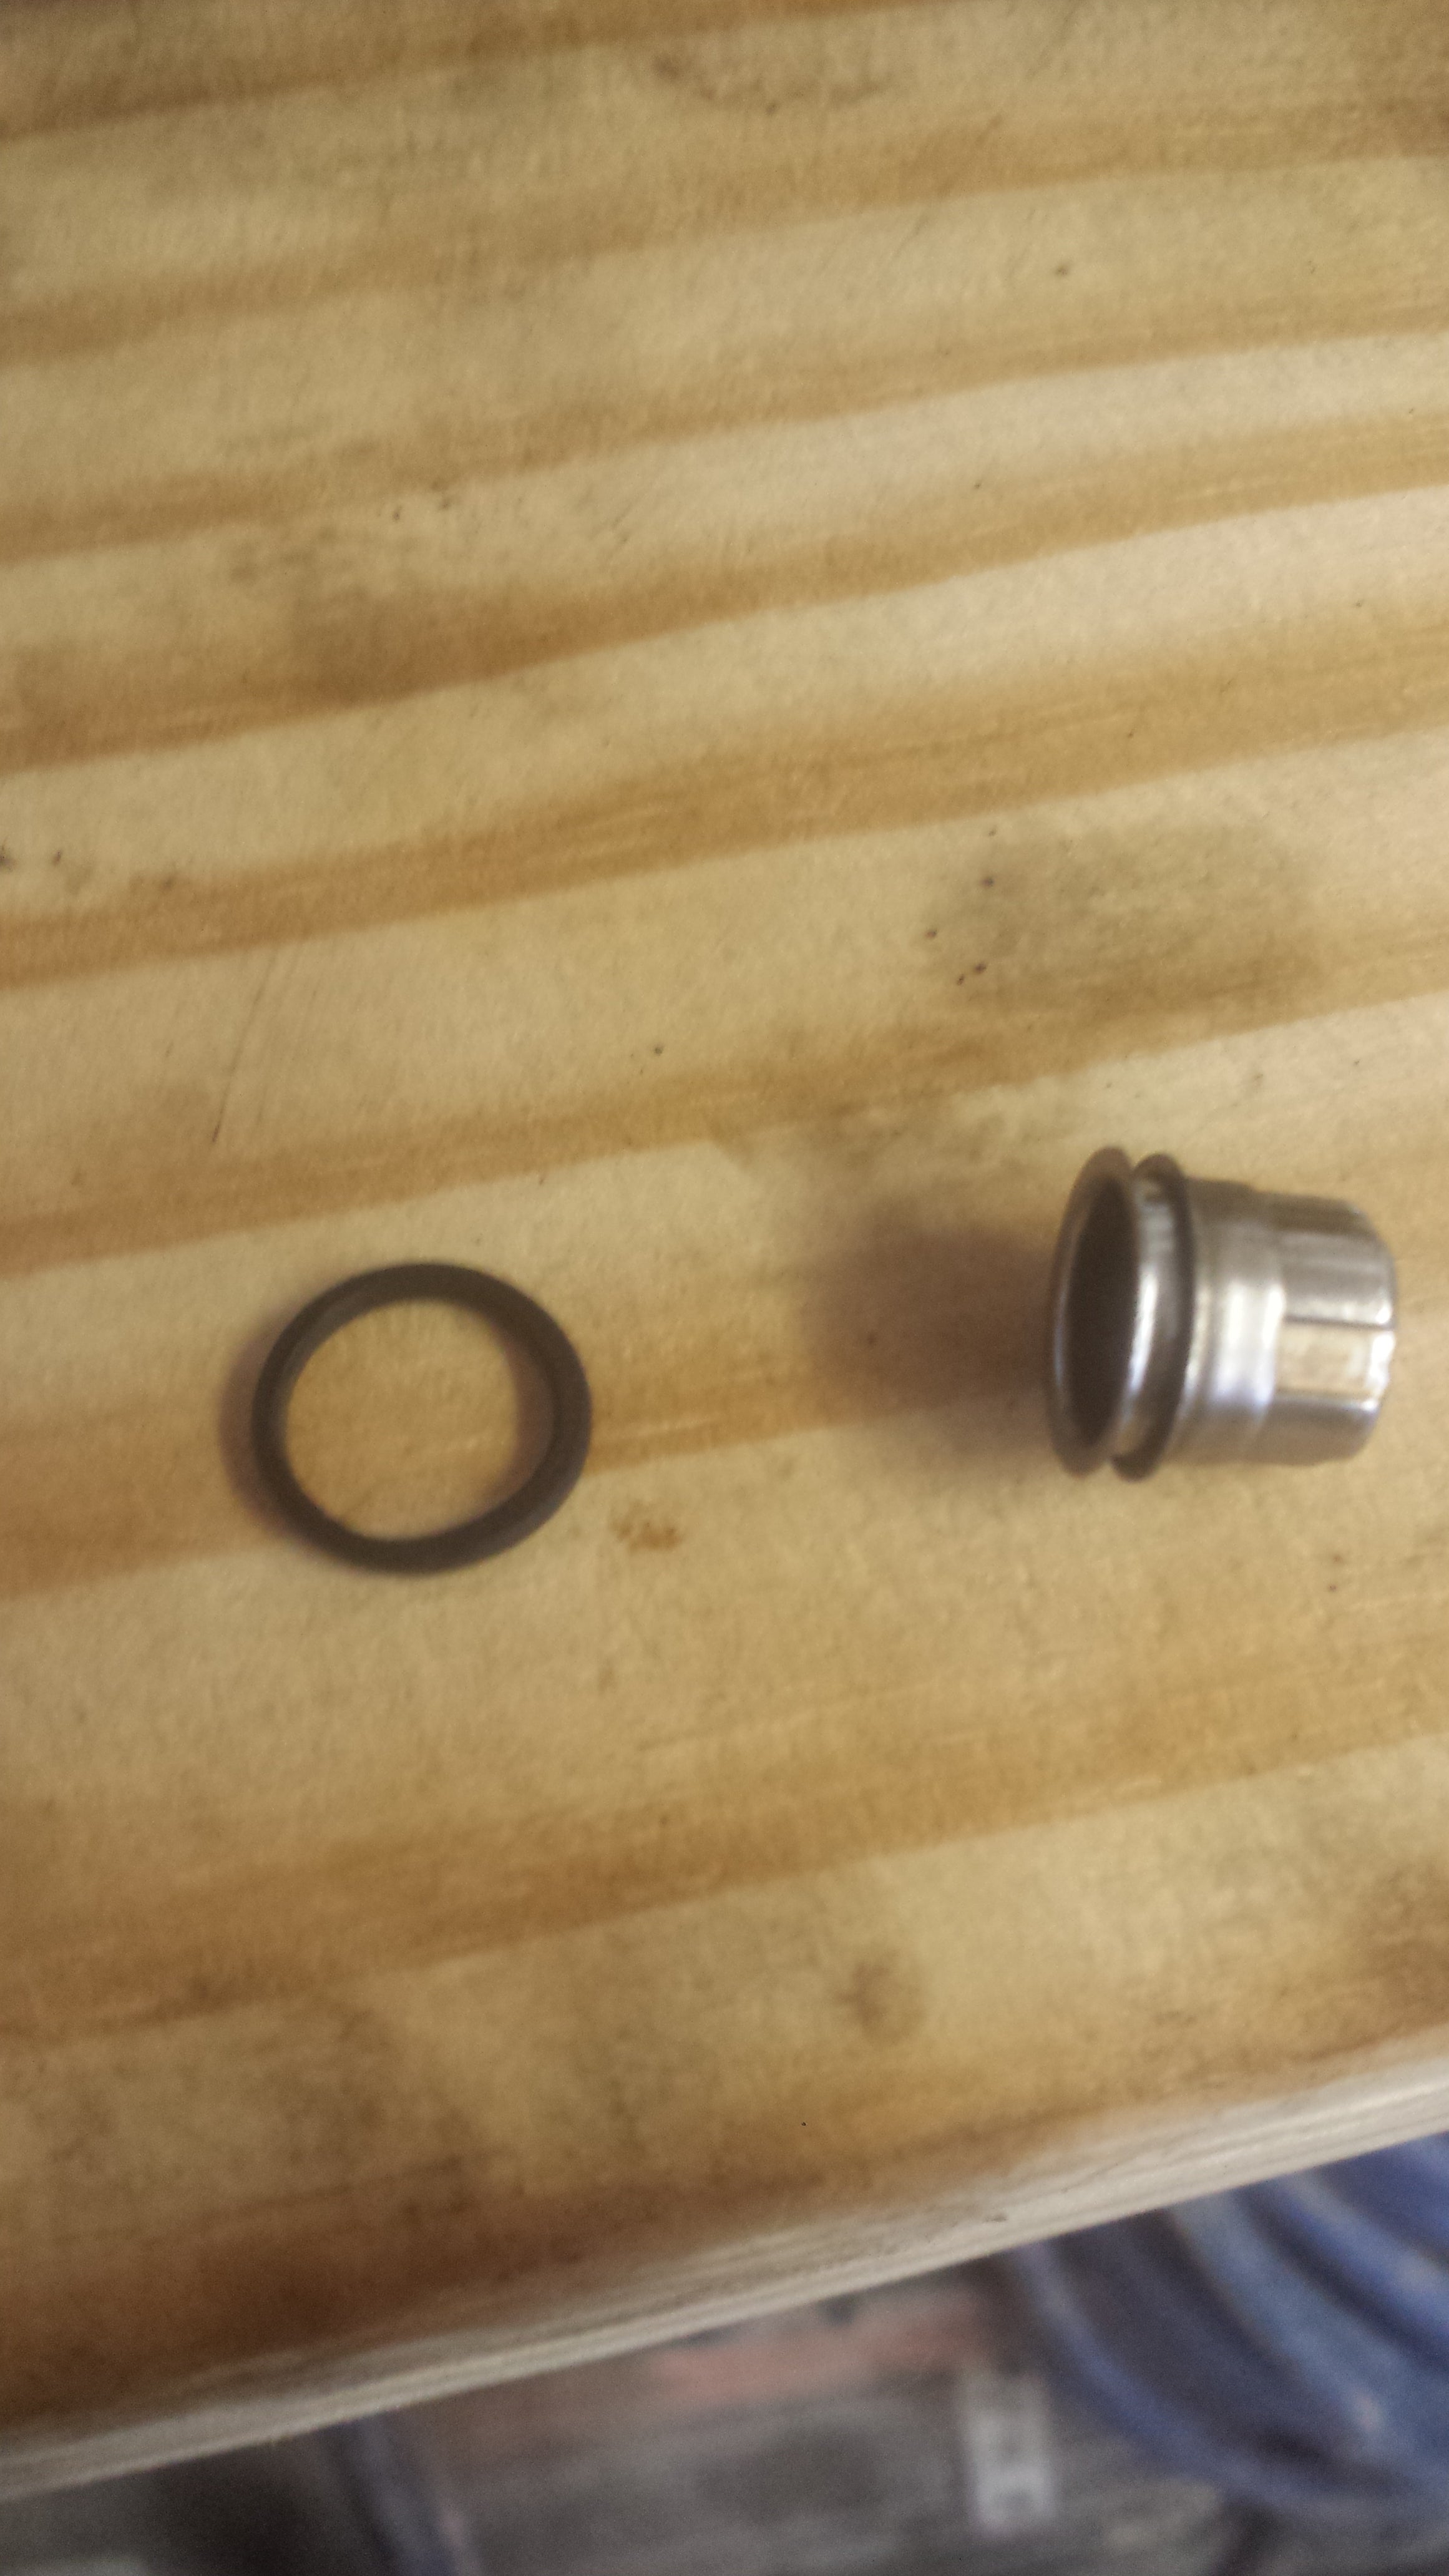
Out with the old
New seals. The large skinny seal is actually for the composite air guide which seats into a boss in the head before screwing in the brass injector holder. Iíll be using the fat one for the injector body and the small one for the cap.
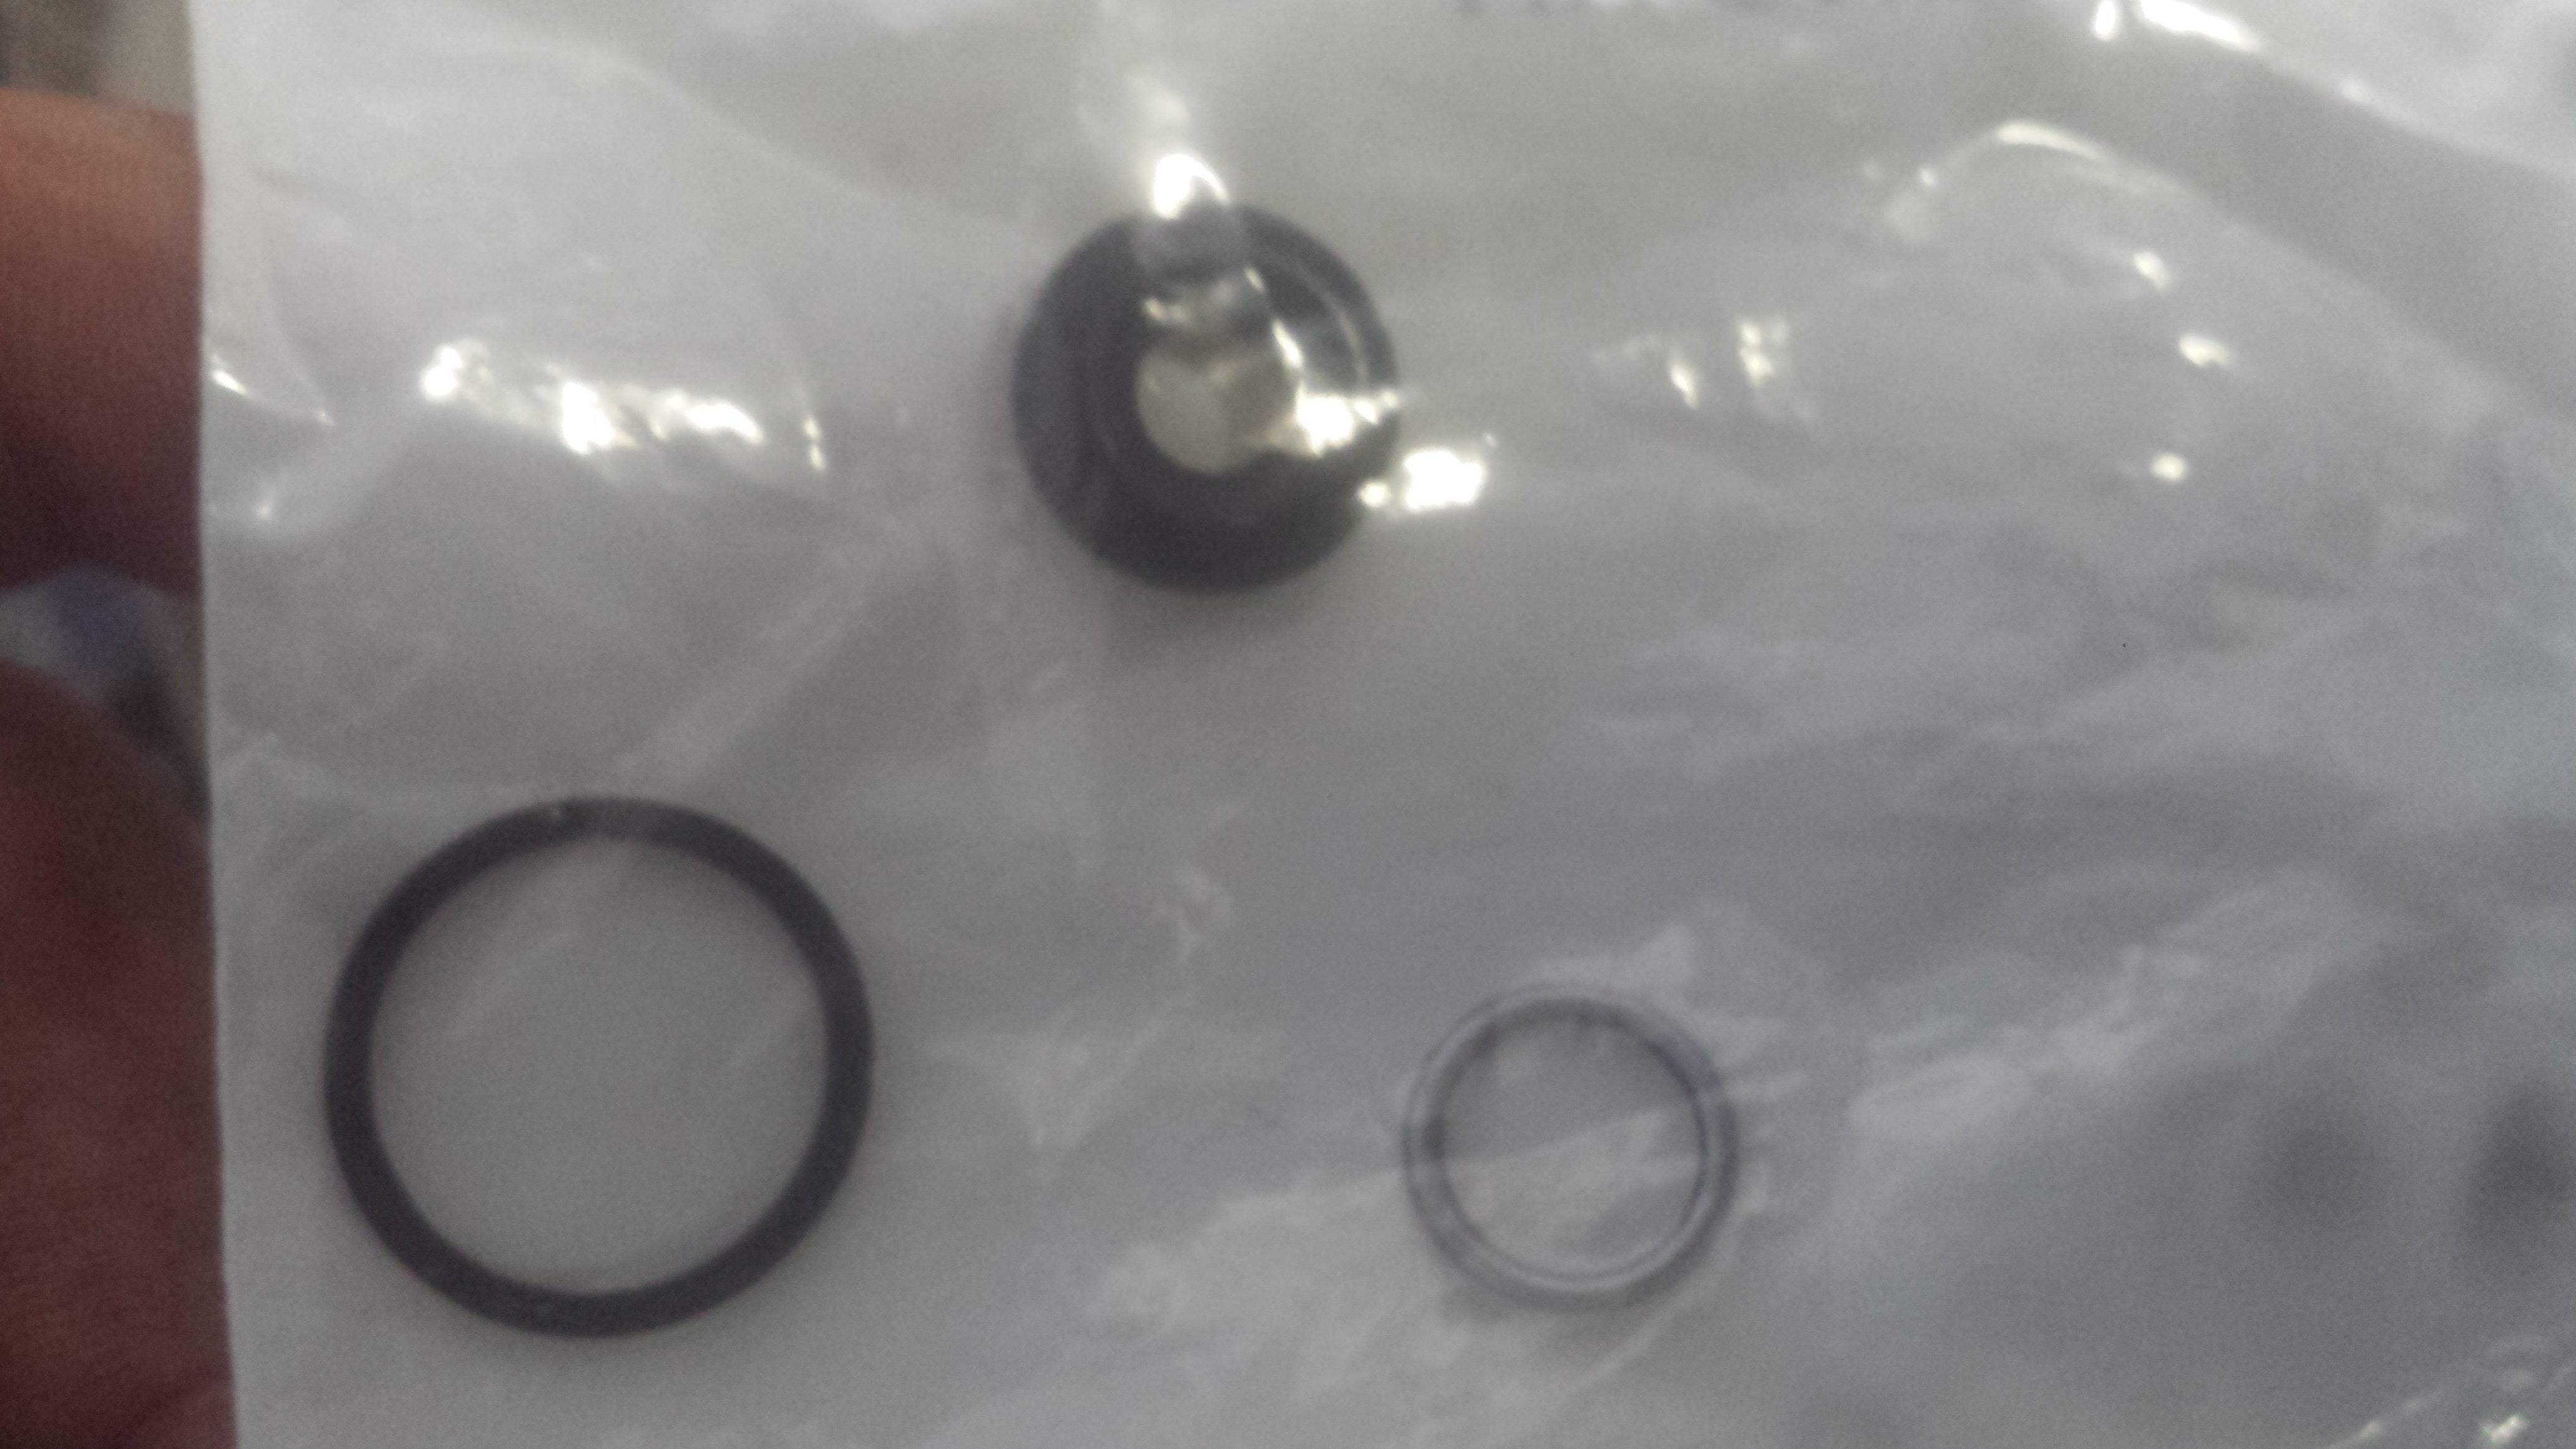
Three rings, a circus maybe?
Keep your parts in order!
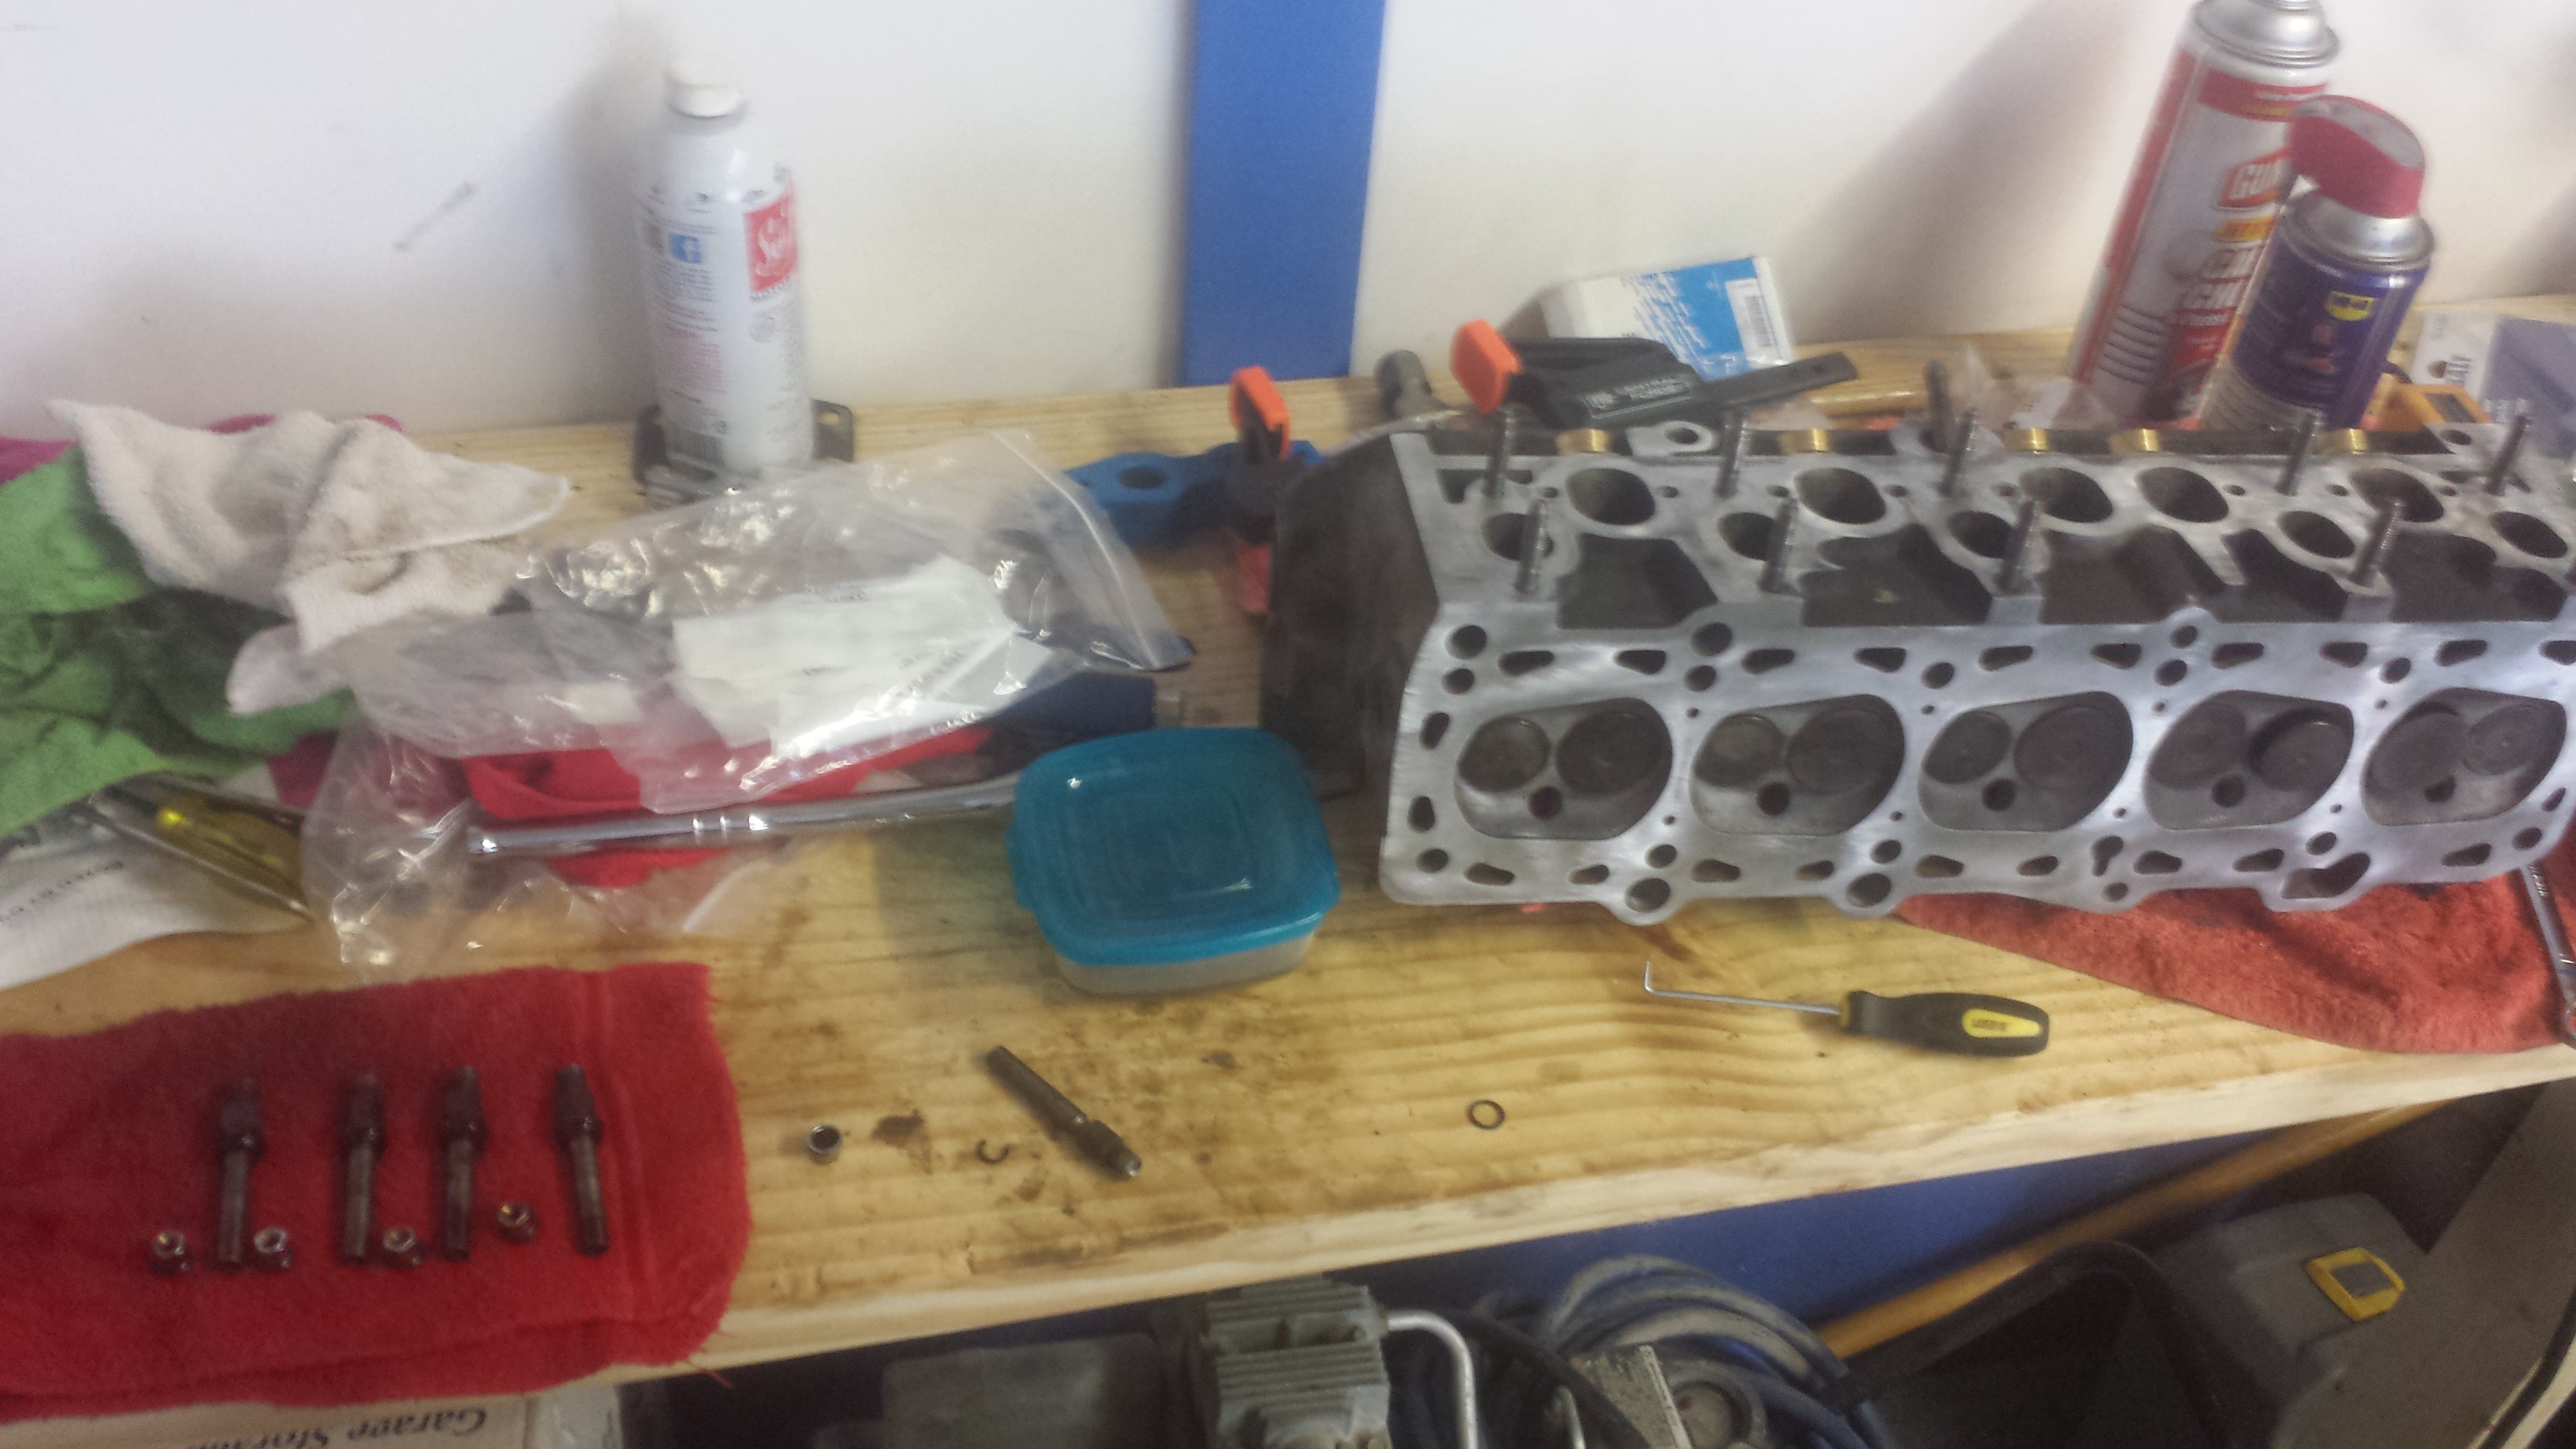
You! Back in formation!
New seal on, install the clip. this is a very important step for without the clip, the pressure in the injector while its firing is enough that over time the injector will actually shoot out of its seat.
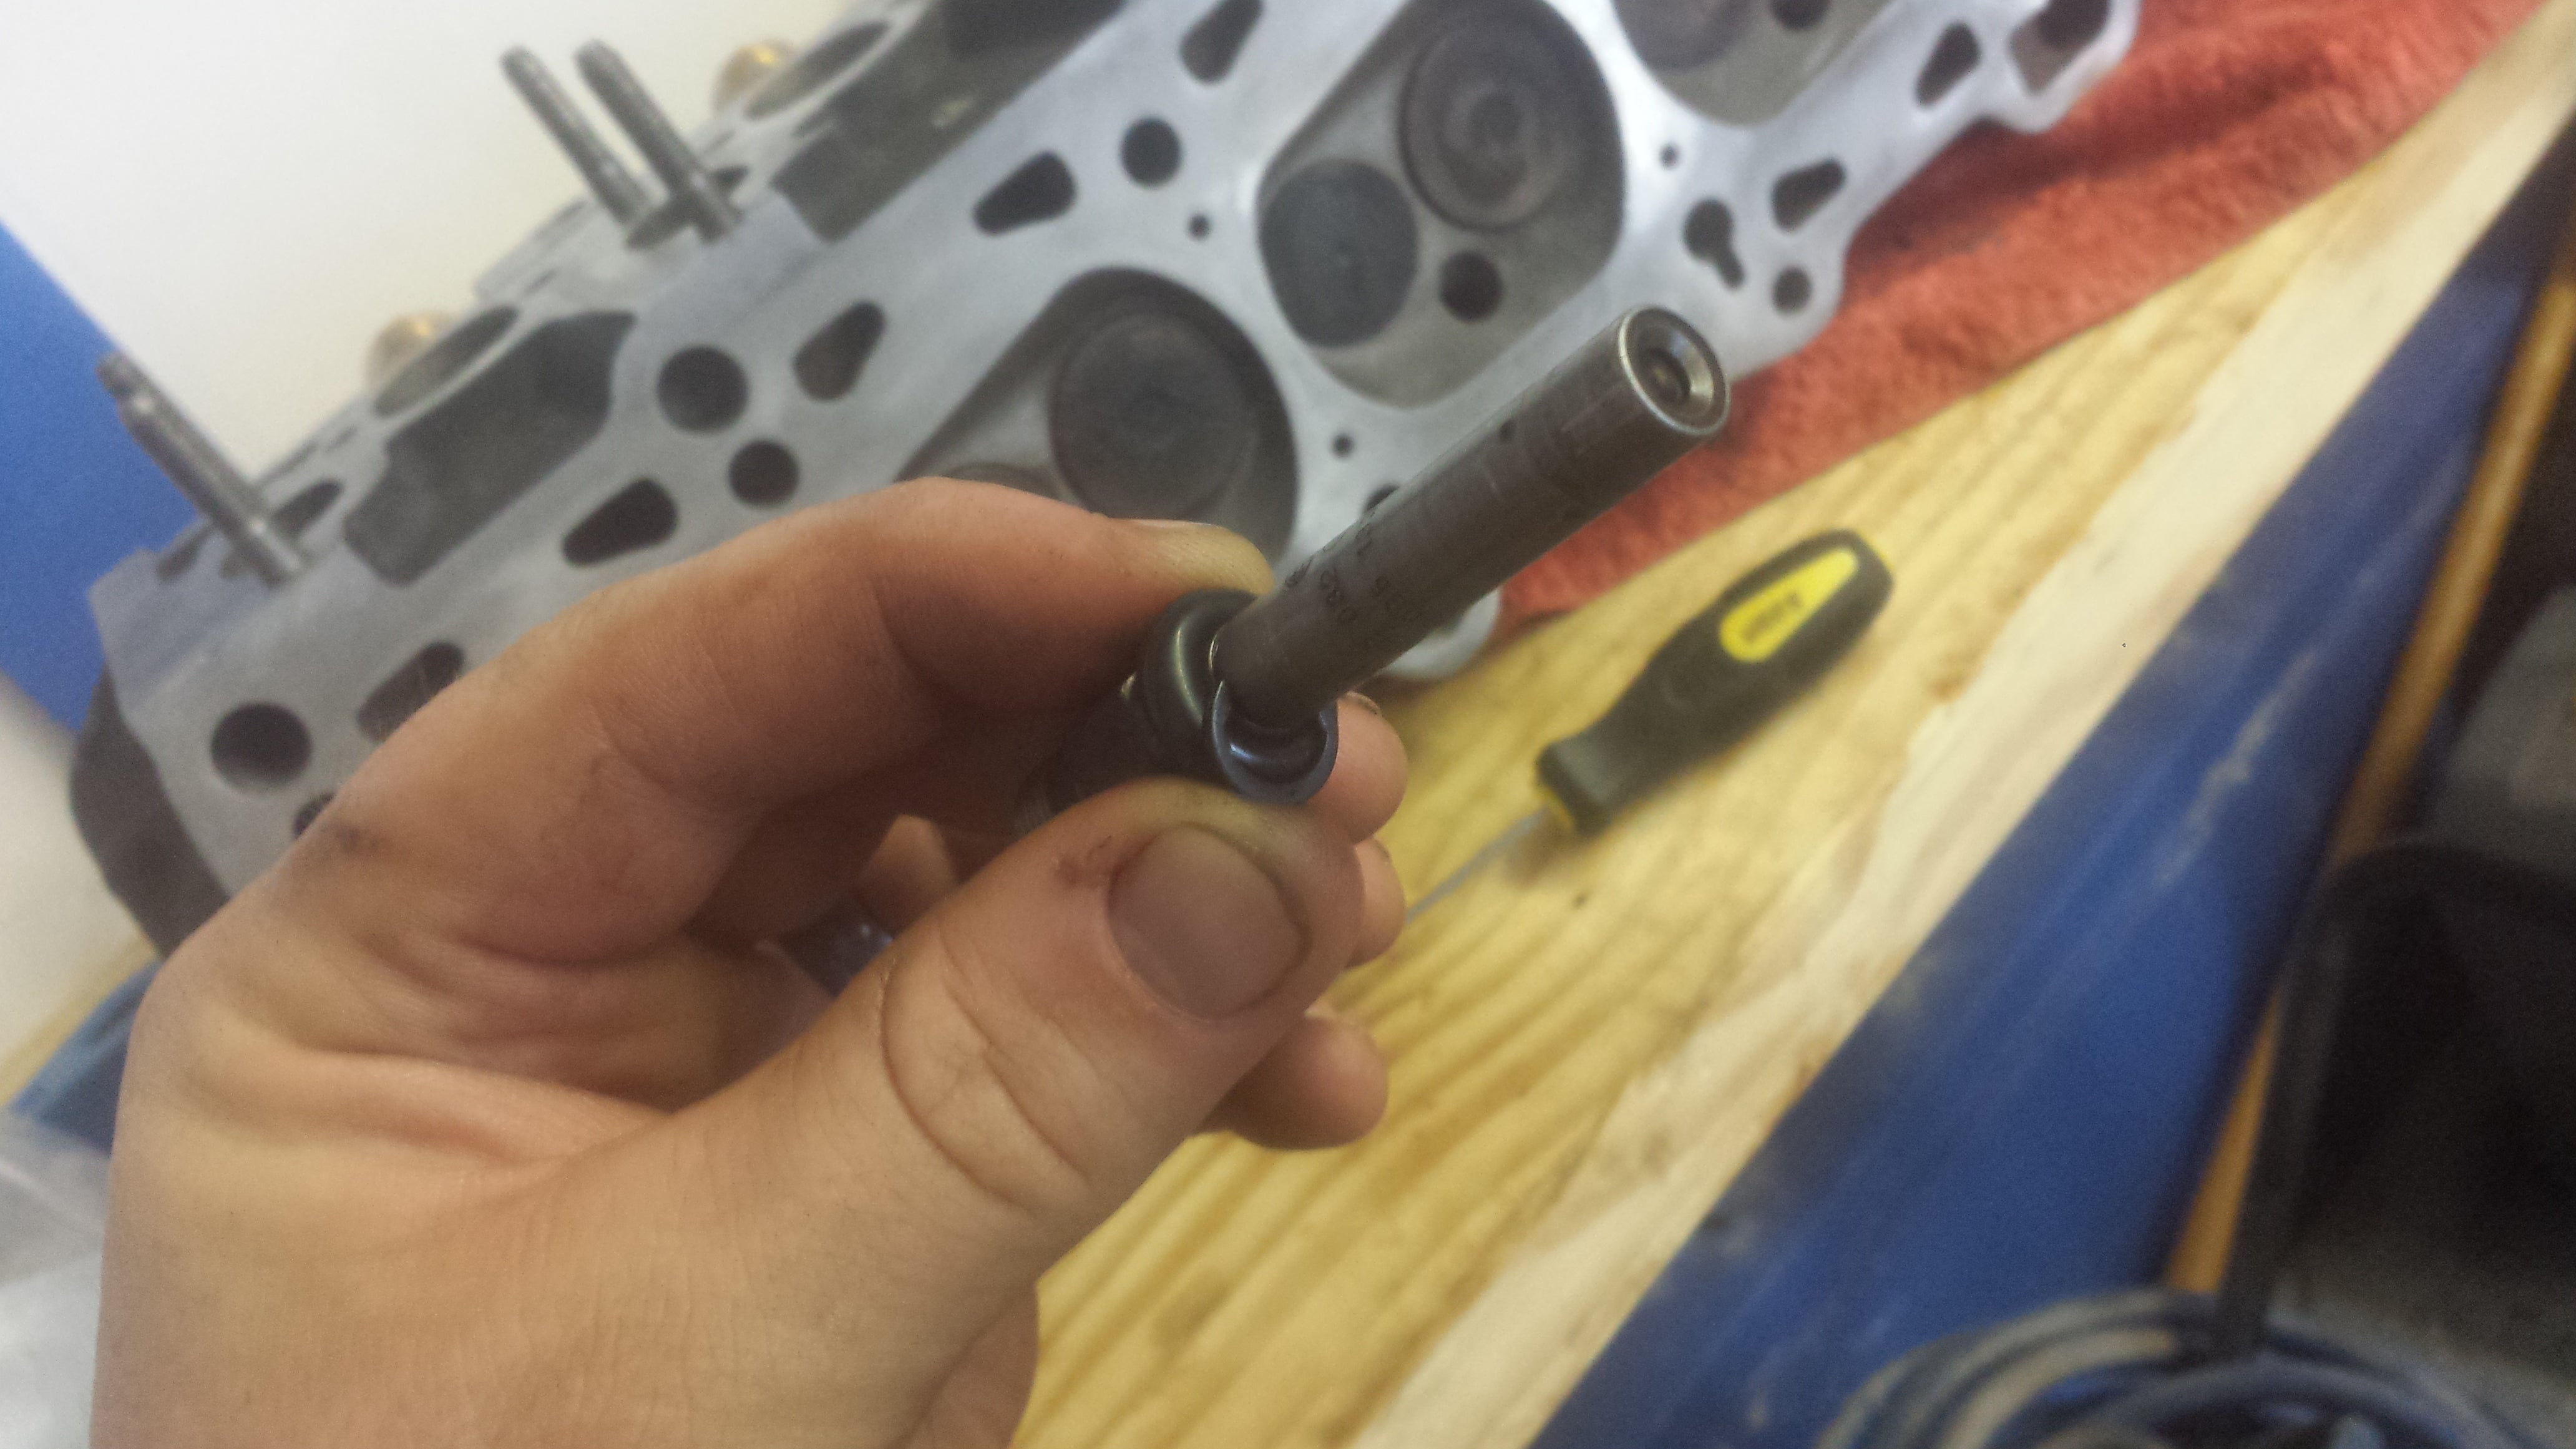
Clips in!
This is a tricky bit. I used a common adjustable clamp used in woodworking to square the injector with the cap before squeezing it together. MAKE SURE ITS SQUARE. if not you can cause irreparable damage to the cap forcing you to buy a new injector.†
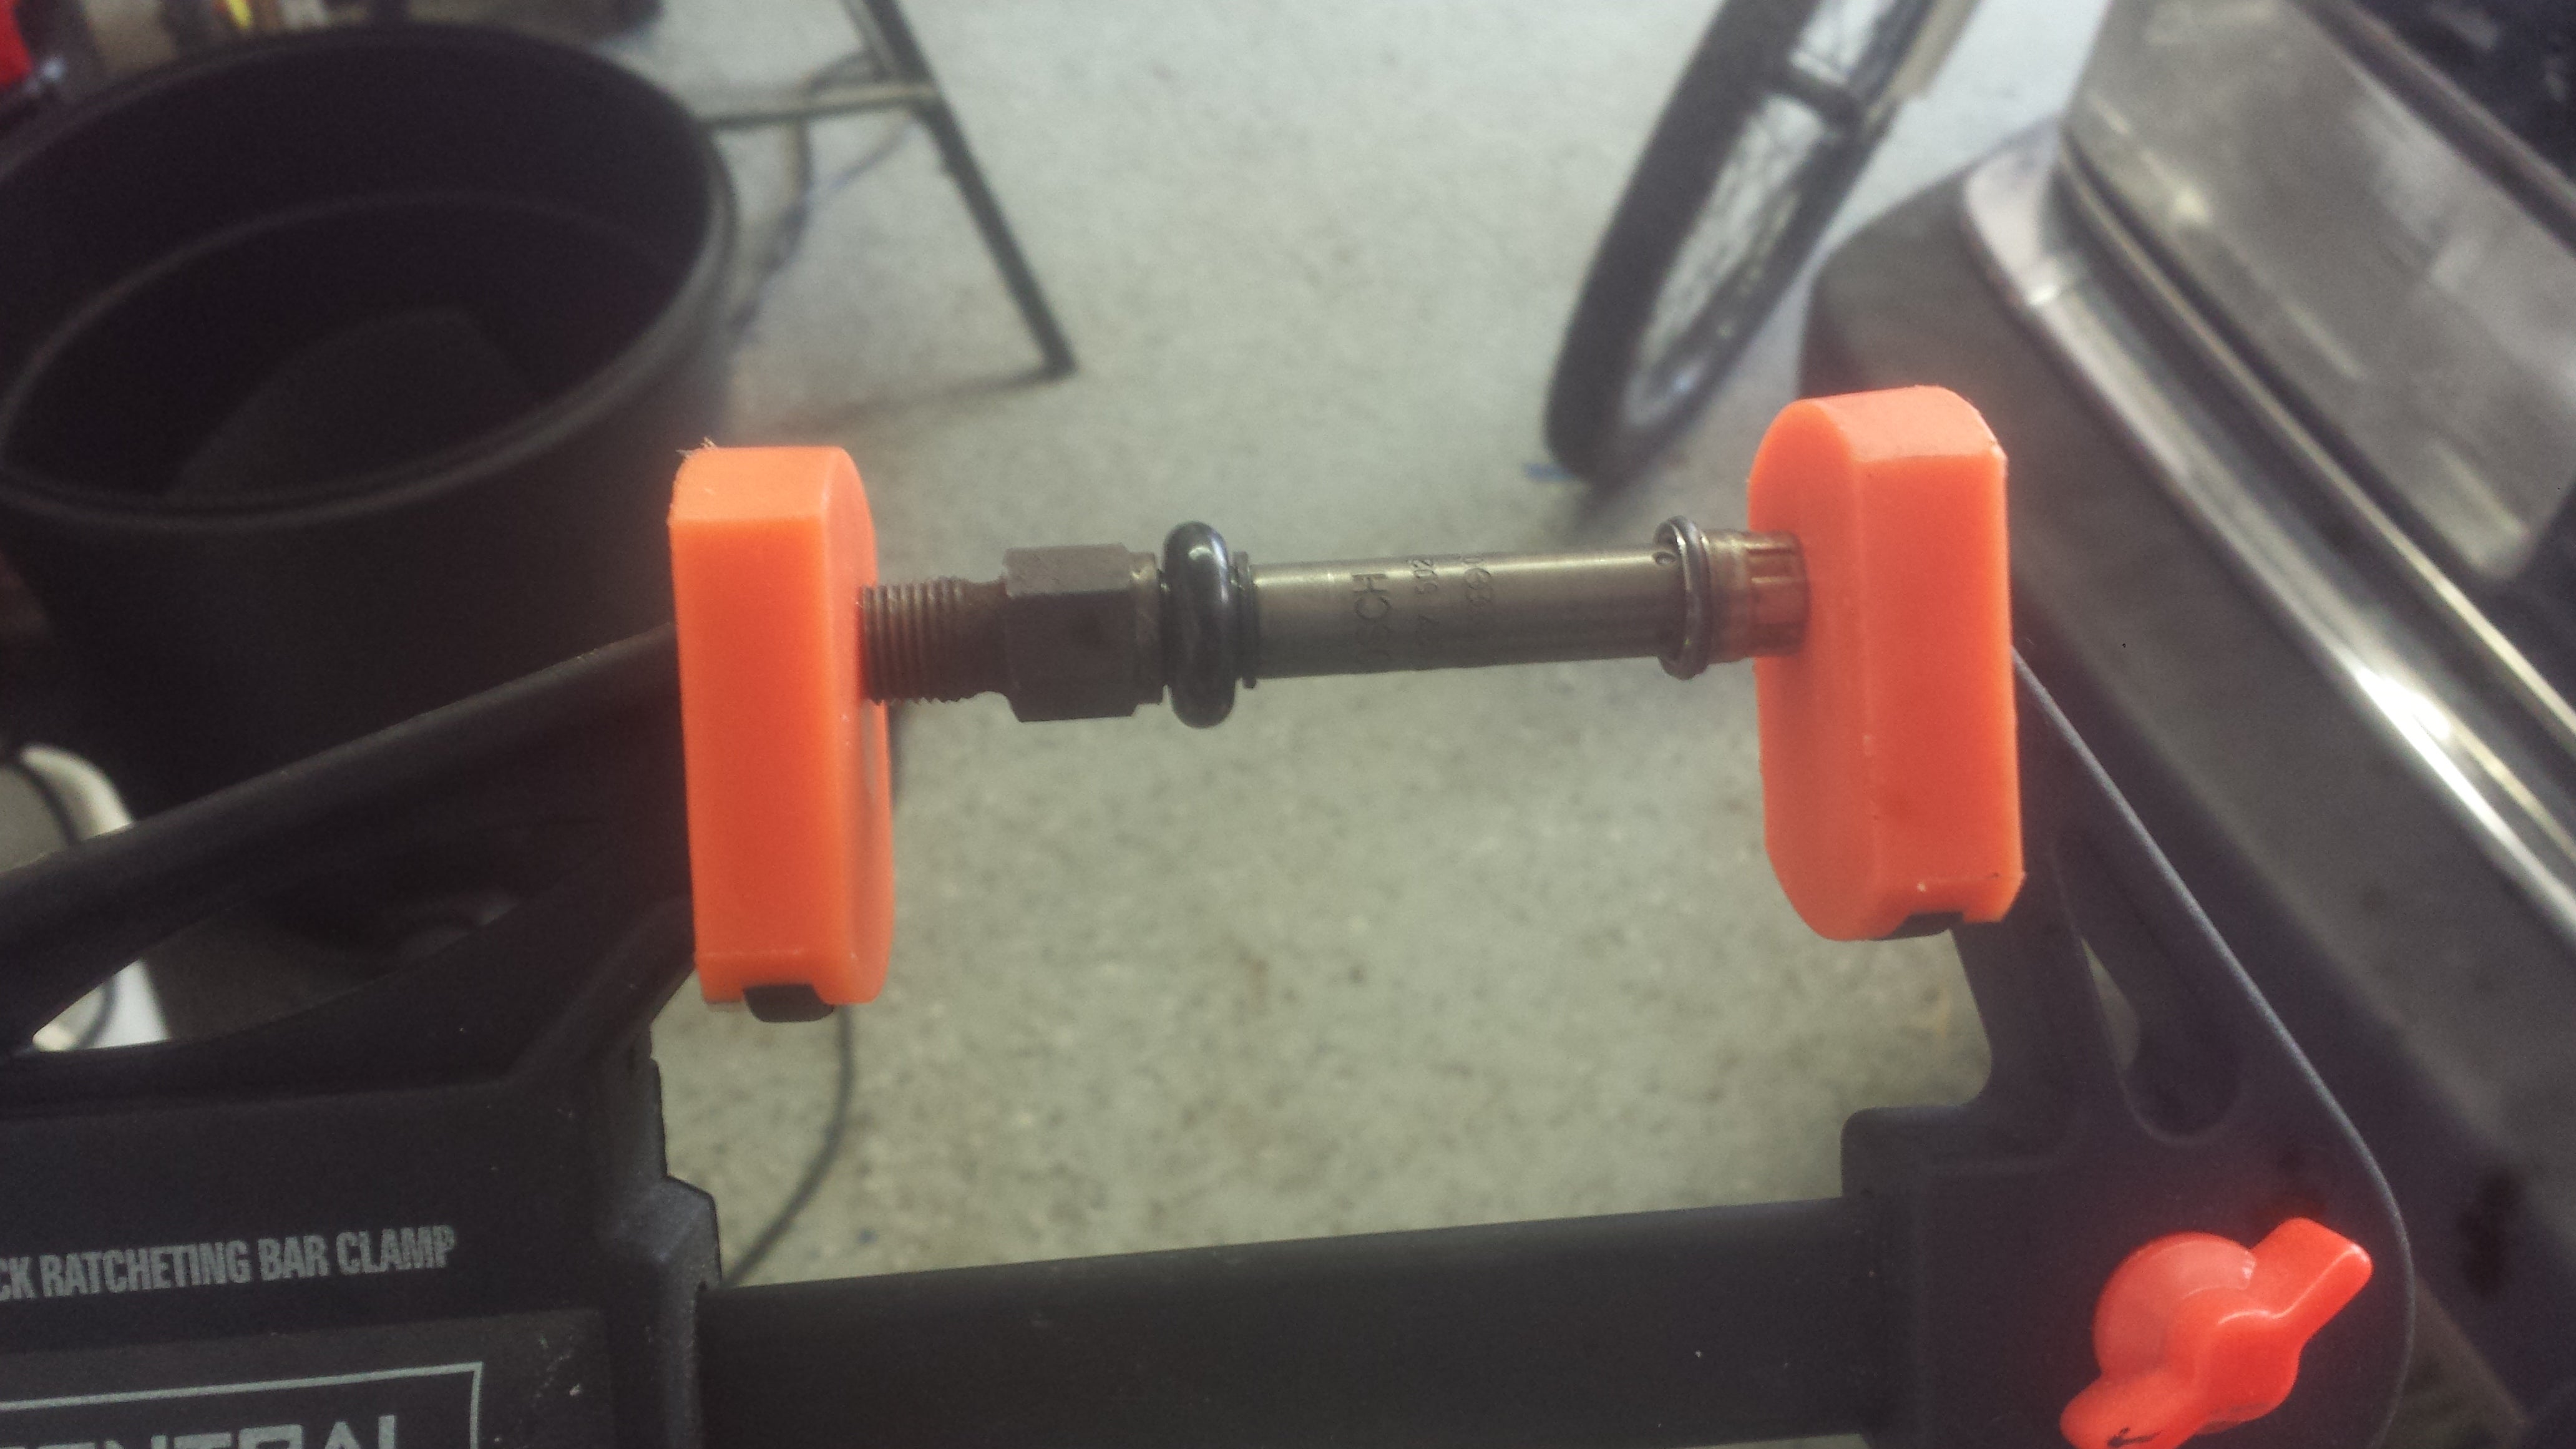
Squeeze Ďem! They like it!
And here is the set of refreshed injectors ready to go into the car! Before installing them, I tapped the screw end on a block of brass I had lying around, so as not to damage the seat, to remove any loose debris in the injector.
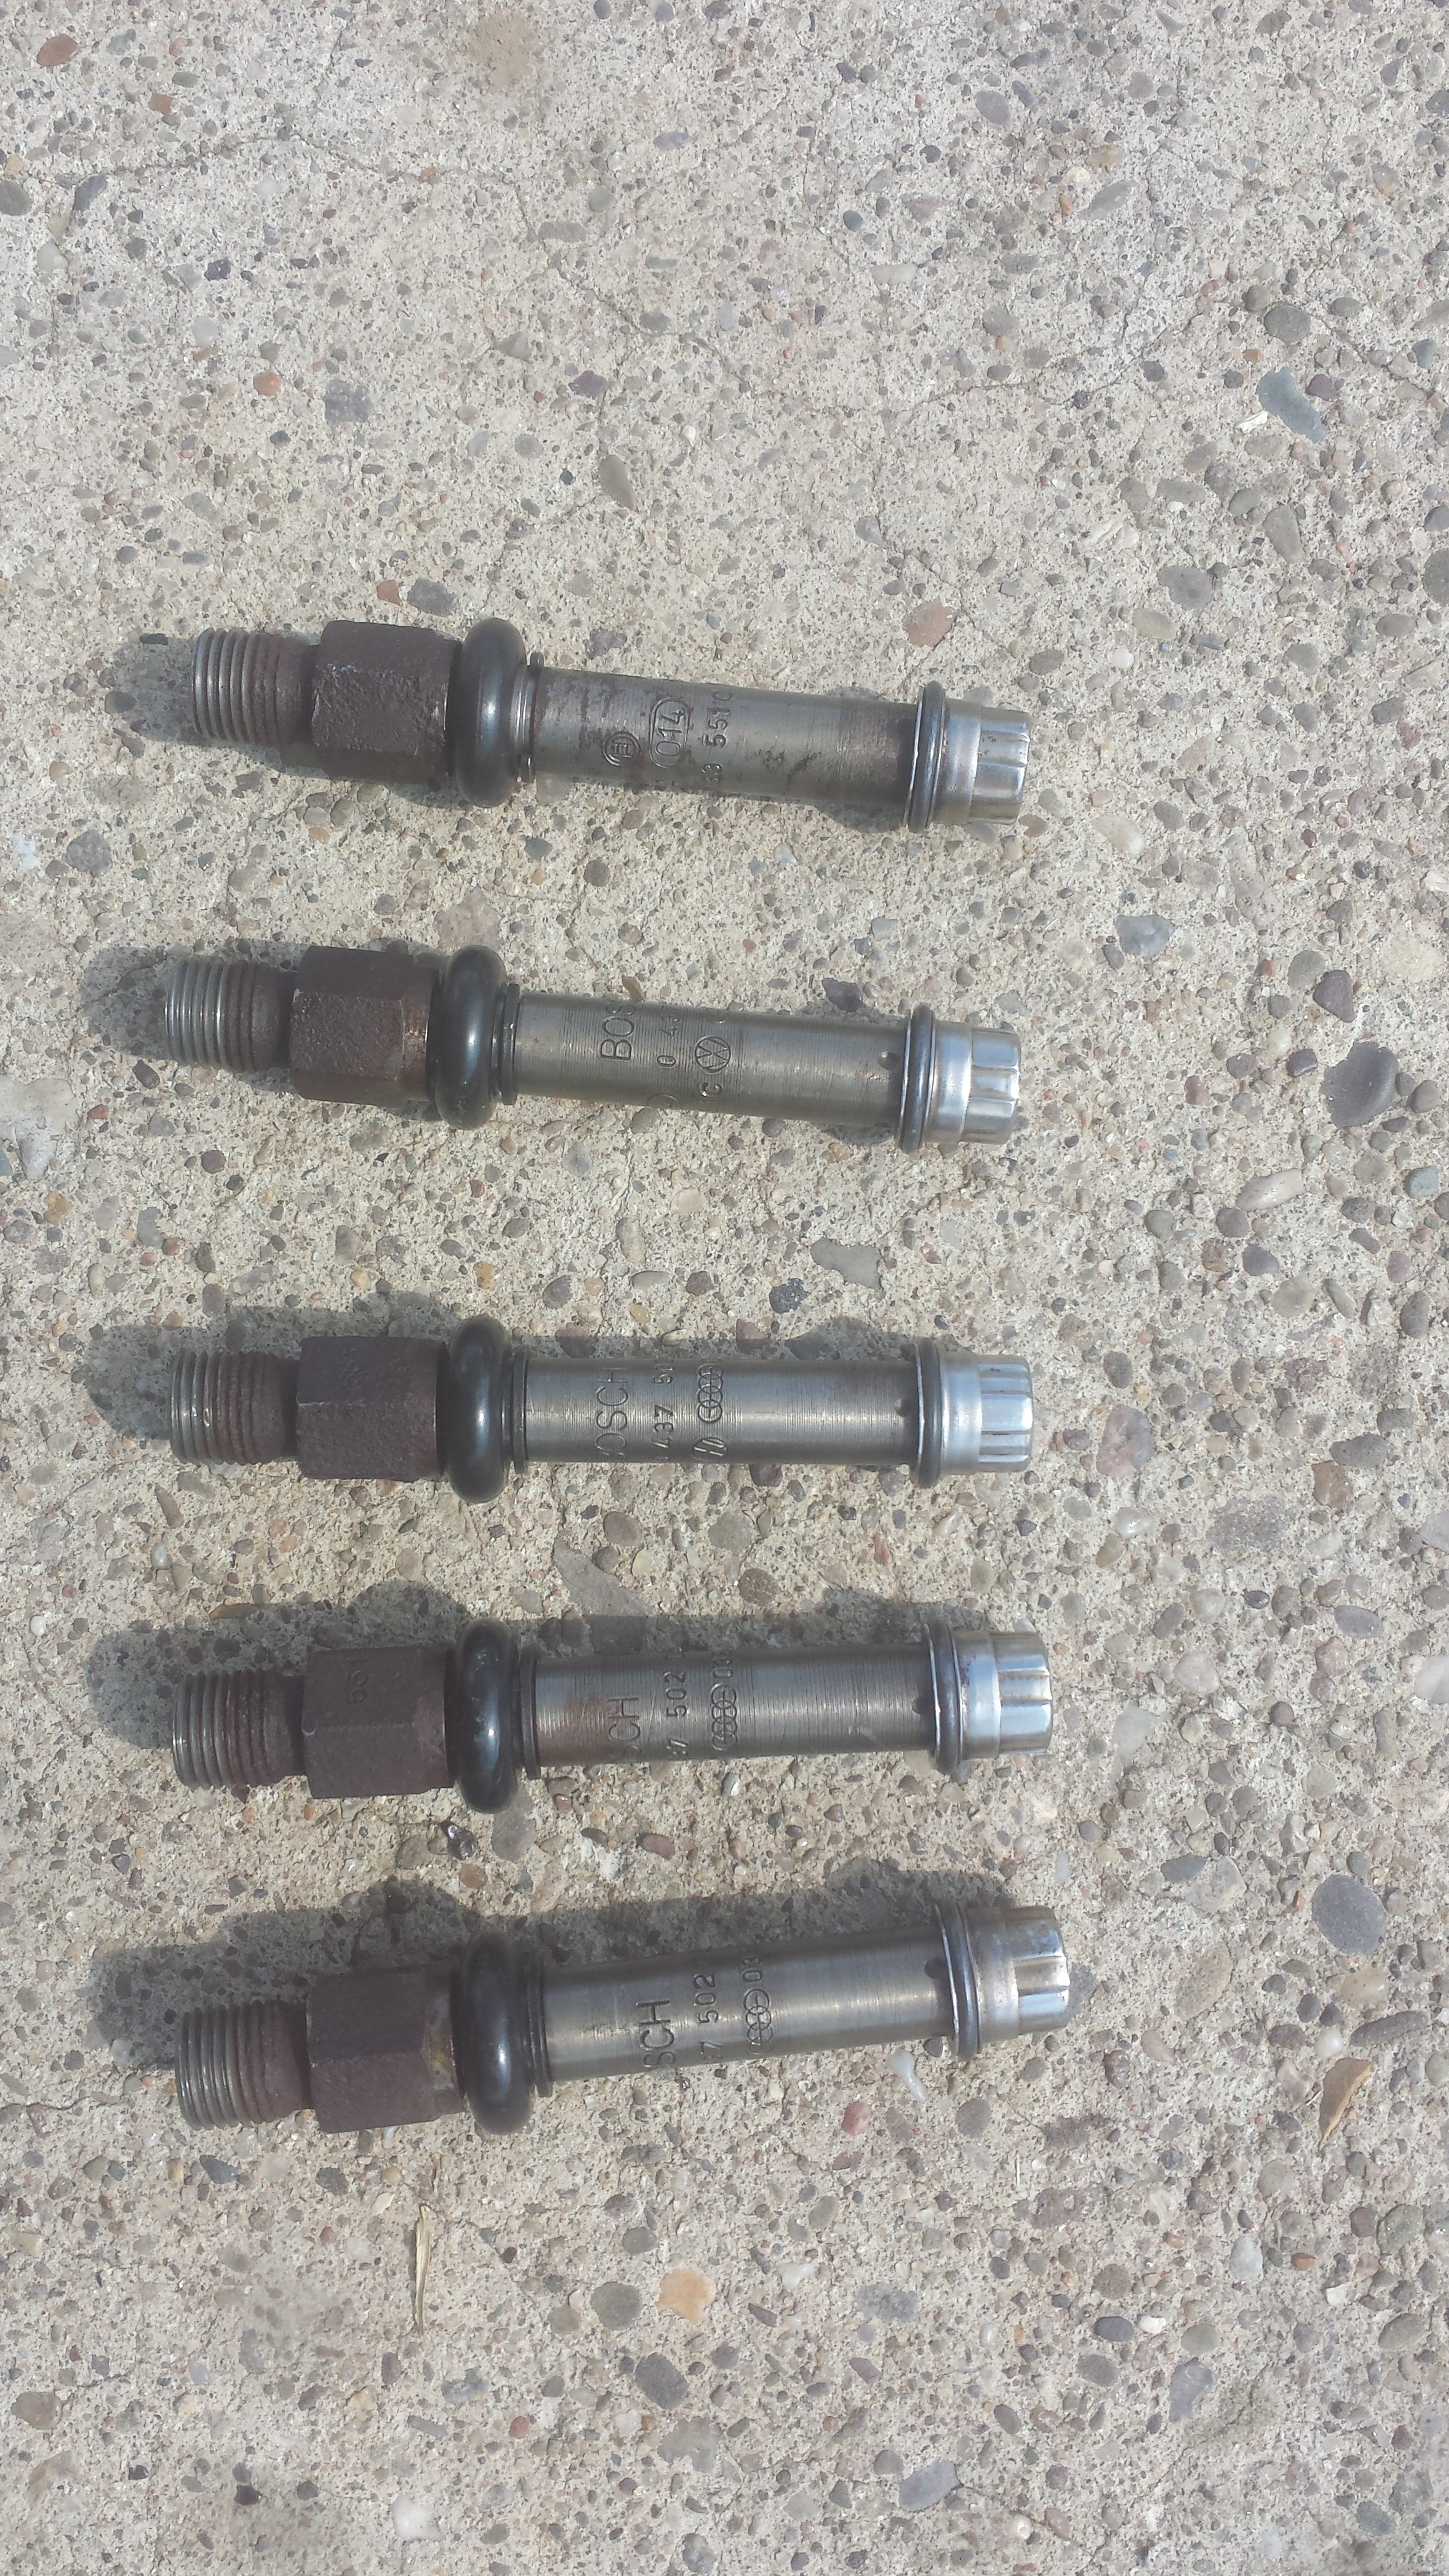
How does the Audi go? With air and spark igniting the dark, 5 cylinders all in a row
Using a quite expensive tester from the internet, I verified the spray patters and made sure the flow was within specification to reuse all 5 injectors. Luckily they were still in spec, so back in the head they went. Reassembly went surprisingly well and I didnít get hardly any pictures of it.
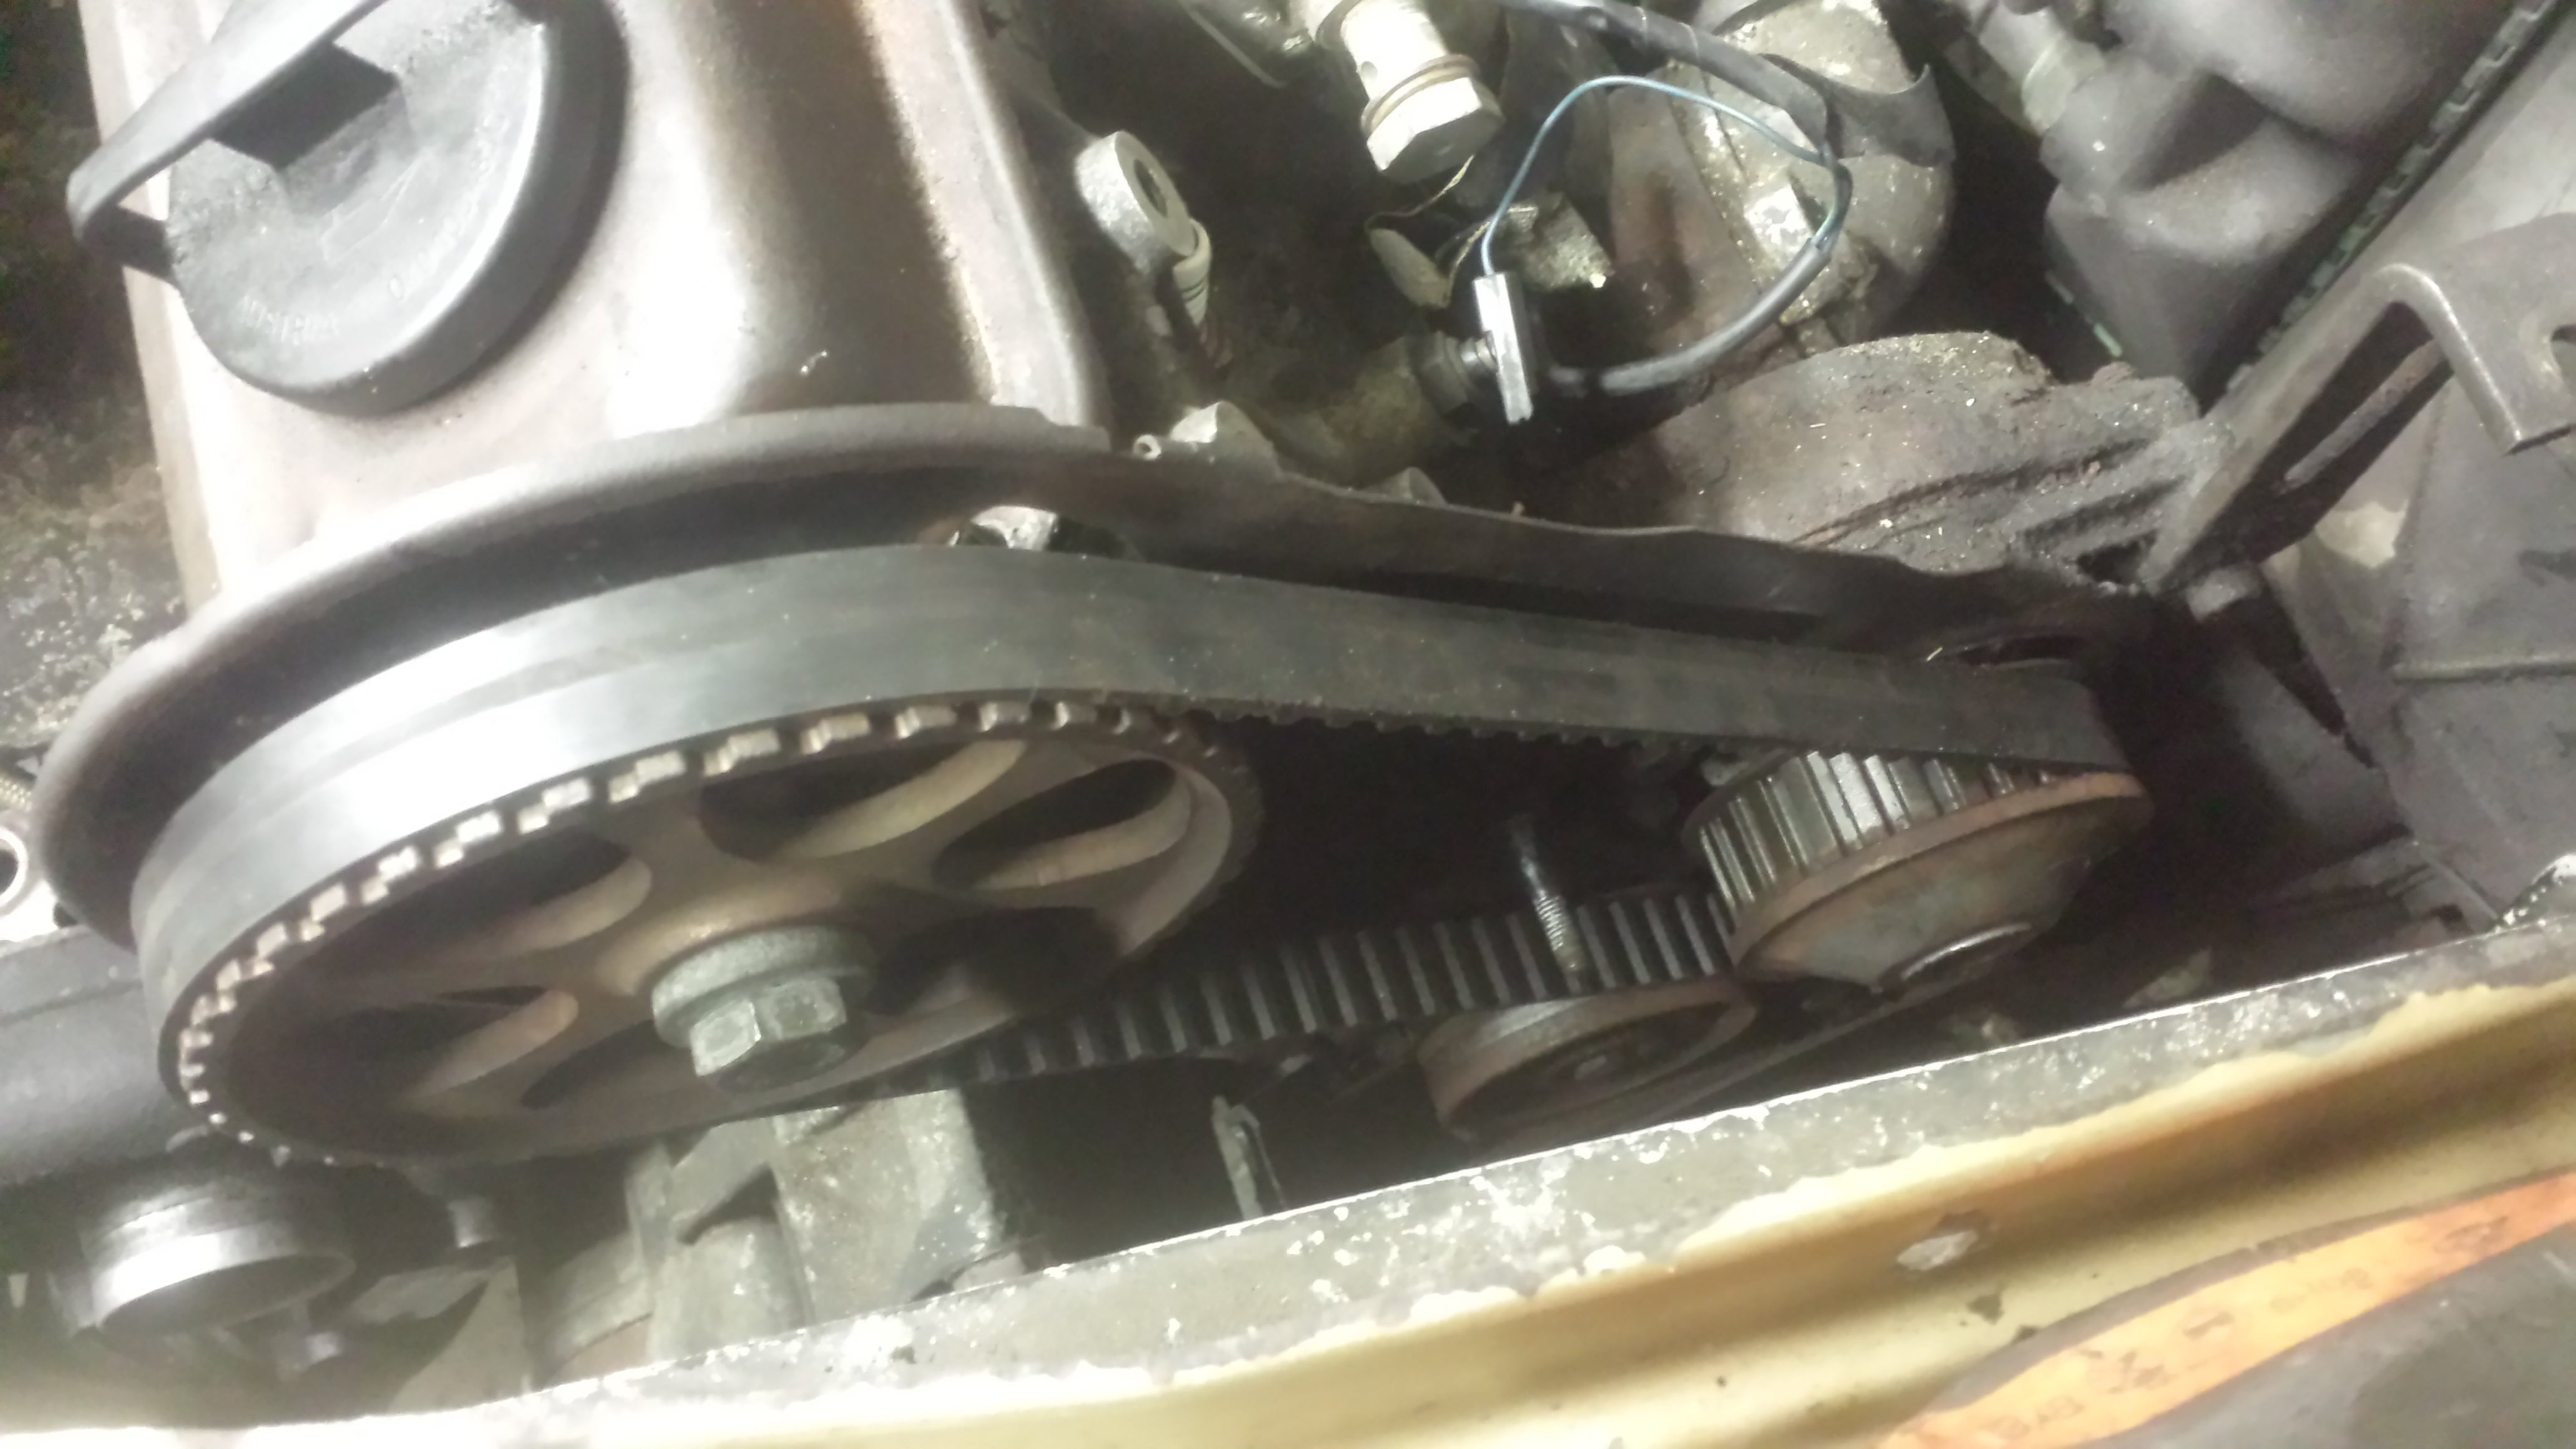
Timing belt in!
Timing was done and the plumbing was all that was left. Afterwards I had to deal with installing the fuel metering device below.
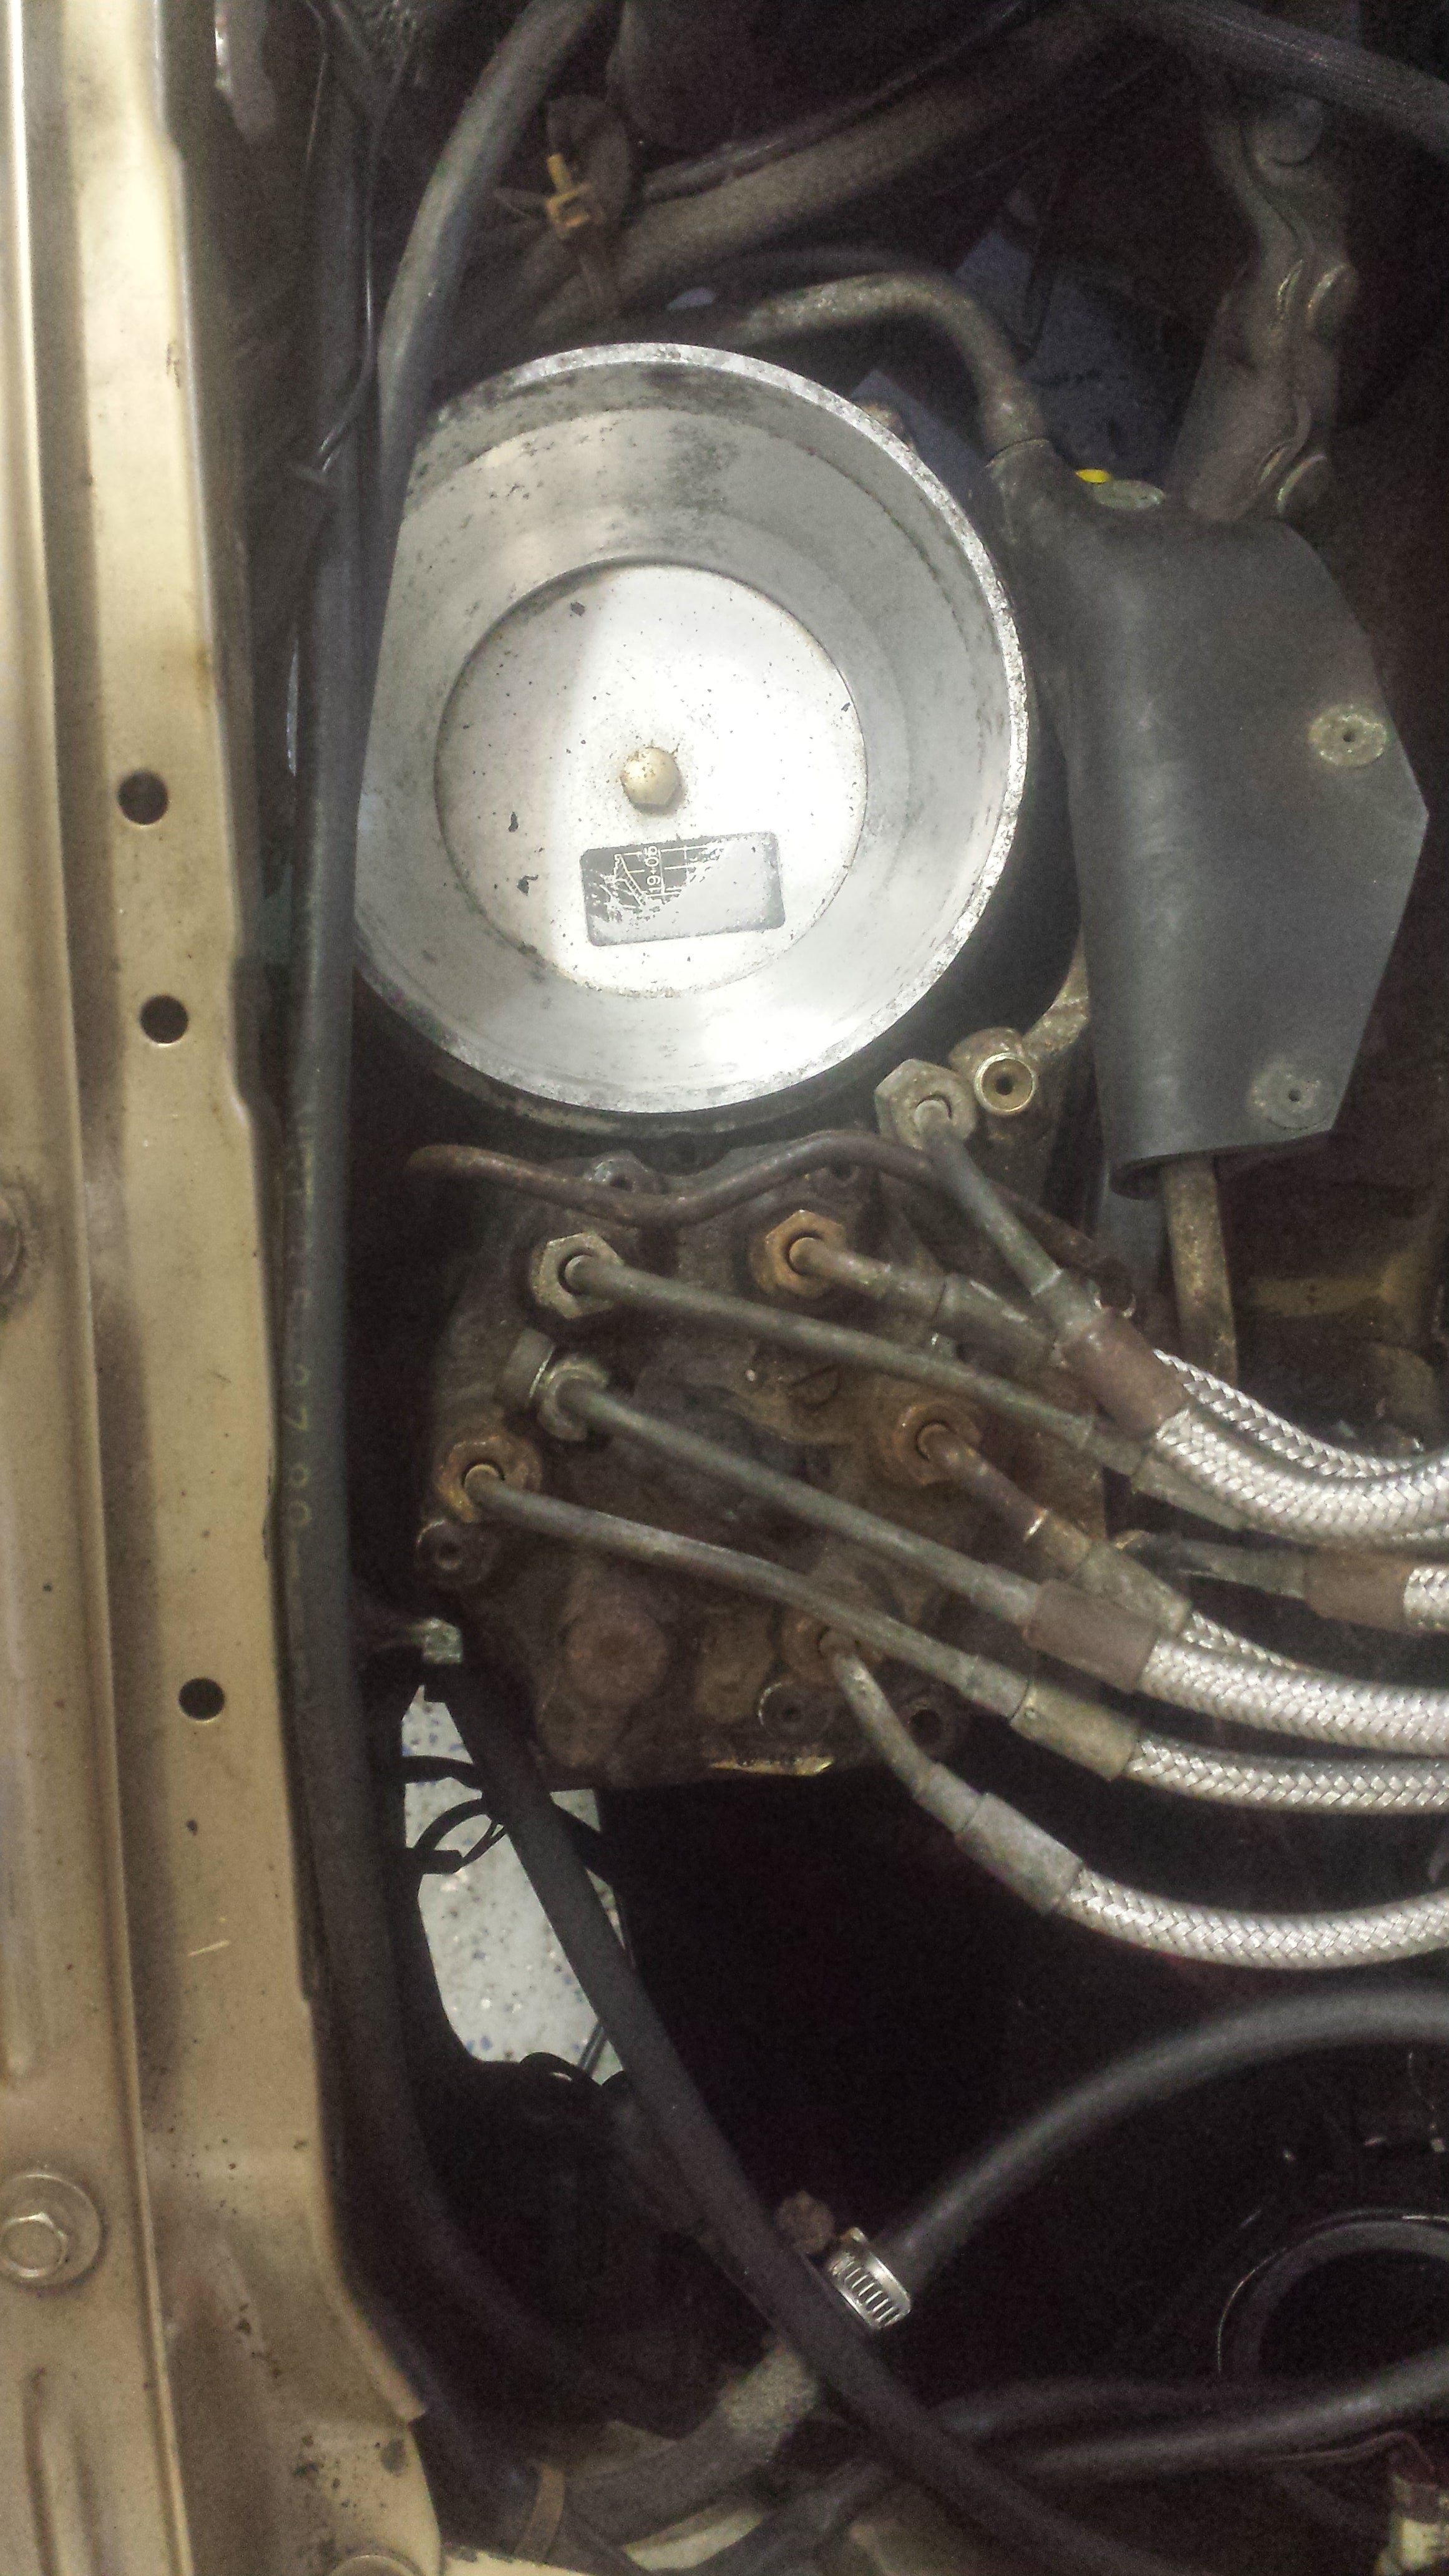
Fuel distributor!!
That bit I mentioned earlier about the lines and the plate make sense now donít they? After another few days of puttering around I was left with this.
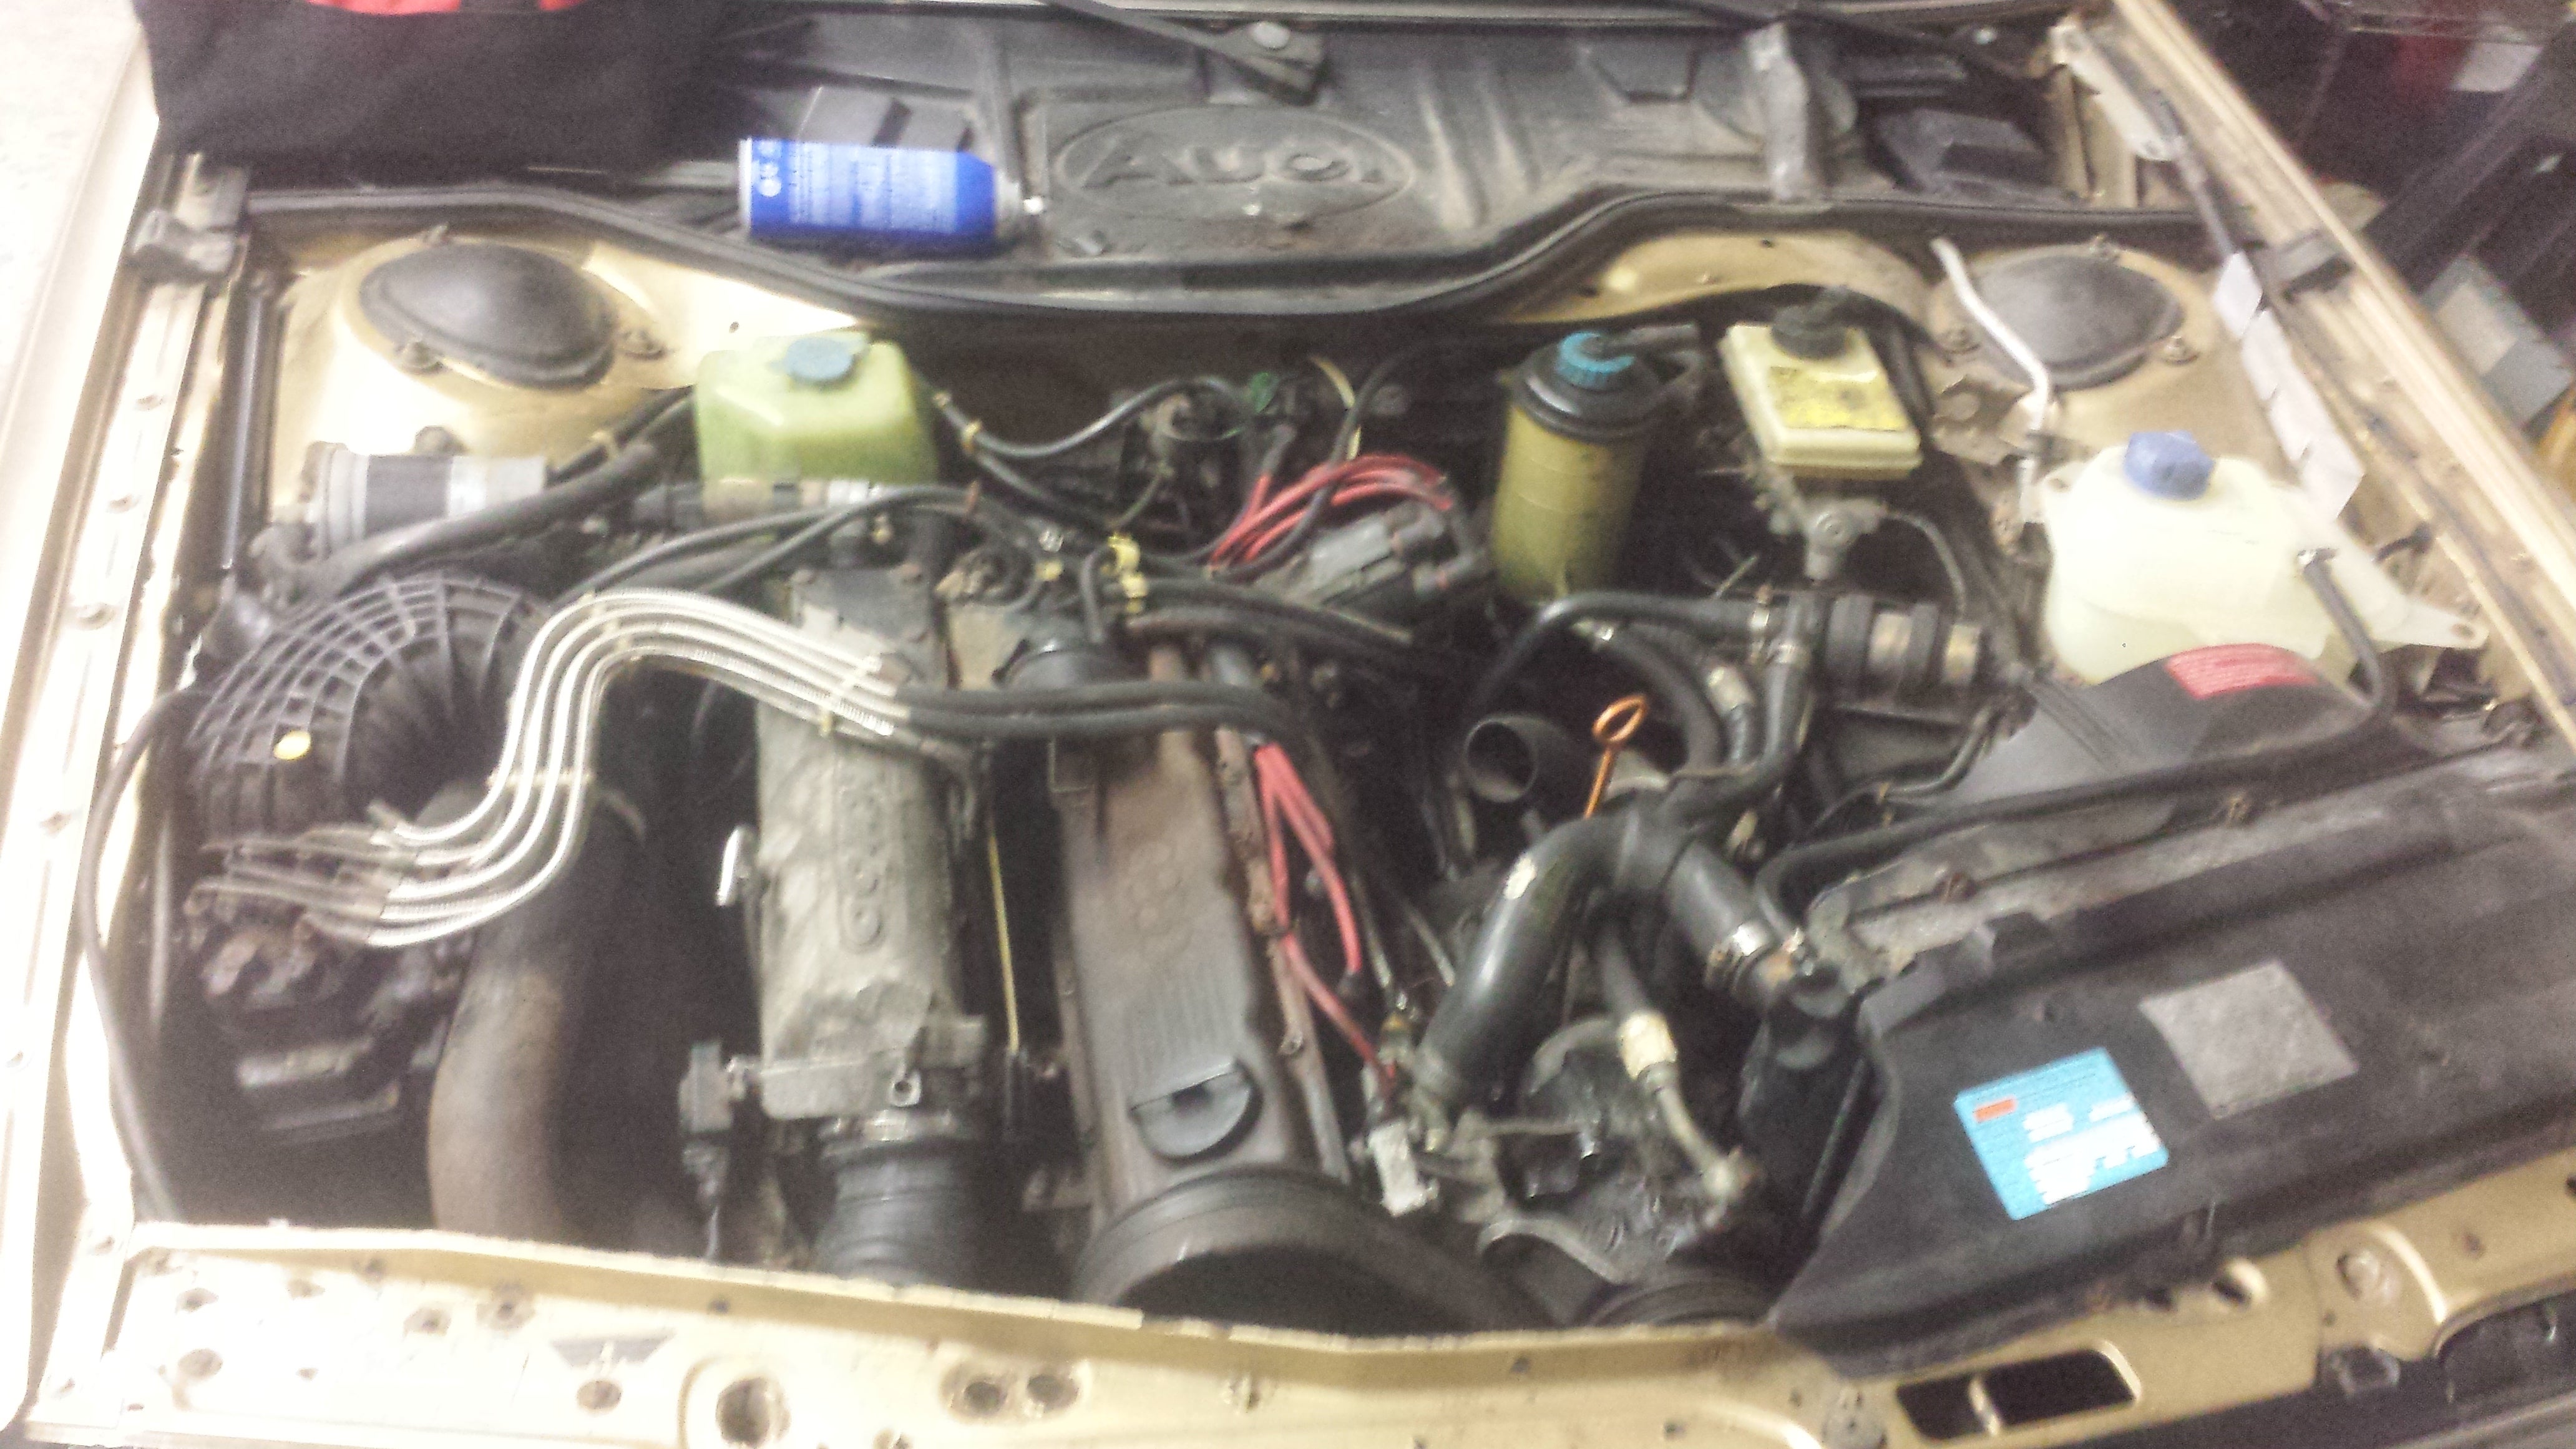
IT LIVES!!
The intake tract on any turbo car is crazy. Piping everywhere! I had to install the rubber boot on the fuel meter into a pipe that went to a hose attached to the turbo that went to another elbow into a pipe that went to another joint to the intercooler to a joint with a pipe to the boot on the throttle body. Those silver lines are the fuel injector supply lines, one each for the injectors plus the cold start and also to another block with wires coming off of it on the side of the engine. I topped off the fluids, primed the fuel system, and she fired right up. Set the distributor timing and drove it 5 miles home. The next day I went to start it and the starter failed. At this point I know it runs and runs well but I am so done with this project that it is now up for sale to anyone willing to finish it. Offers?
 pip bip - choose Corrour
> Forge Crown Victor!
01/02/2017 at 04:53 |
|
i work at an Audi dealer here in Australia, we have one of these come in regularly.
we hope it dies soon , but the owner just had the motor rebuilt.
plus weíve had a non turbo version get traded in last month, only 99k km from new. but they want too much for it sadly.
 Tazio, Count Fouroff
> Forge Crown Victor!
01/02/2017 at 10:22 |
|
Thanks for the great writeup
Congratulations on getting everything back together and then it runs...what a feeling of relief, right?
So sorry to read she played that stupid trick with the starter. Just guessing, R&R is every bit as difficult as other major jobs on VAG products?
Best wishes bro and thanks again,
An Audifan
 Forge Crown Victor!
> Tazio, Count Fouroff
01/02/2017 at 16:25 |
|
The starter job is super easy. like like a 20 minute thing. 2 bolts, the power cable cable and signal wire. completely unobstructed and very easy to access. Itís the principal of the thing. I spent like 8 months getting this thing running and then this shit happens. Iím just done working on it and want it gone. lol
 Forge Crown Victor!
> pip bip - choose Corrour
01/02/2017 at 16:28 |
|
It truly is a lovely car. I like it loads. Iím just finished with it. lots of fun to drive too.
100km?! thatís nothing! I bet they want like $10k AUD for it. Iíd rather buy a good used Maloo ute.
 Tazio, Count Fouroff
> Forge Crown Victor!
01/02/2017 at 17:13 |
|
Understood!